REVIEW: HGLRC DJI Zeus F722
F7 is coming in hot. But are you ready? The HGLRC Zeus F722 fully featured 30mm x 30mm F7 flight controller with its 20mm x 20mm sibling, the HGLRC Zeus F722 Mini. Lets dive in.
Where to buy?
Note: These parts have been provided as a kit for pilots to review their unit. The details and content below are not limited and are based on my sole opinion.
The Parts
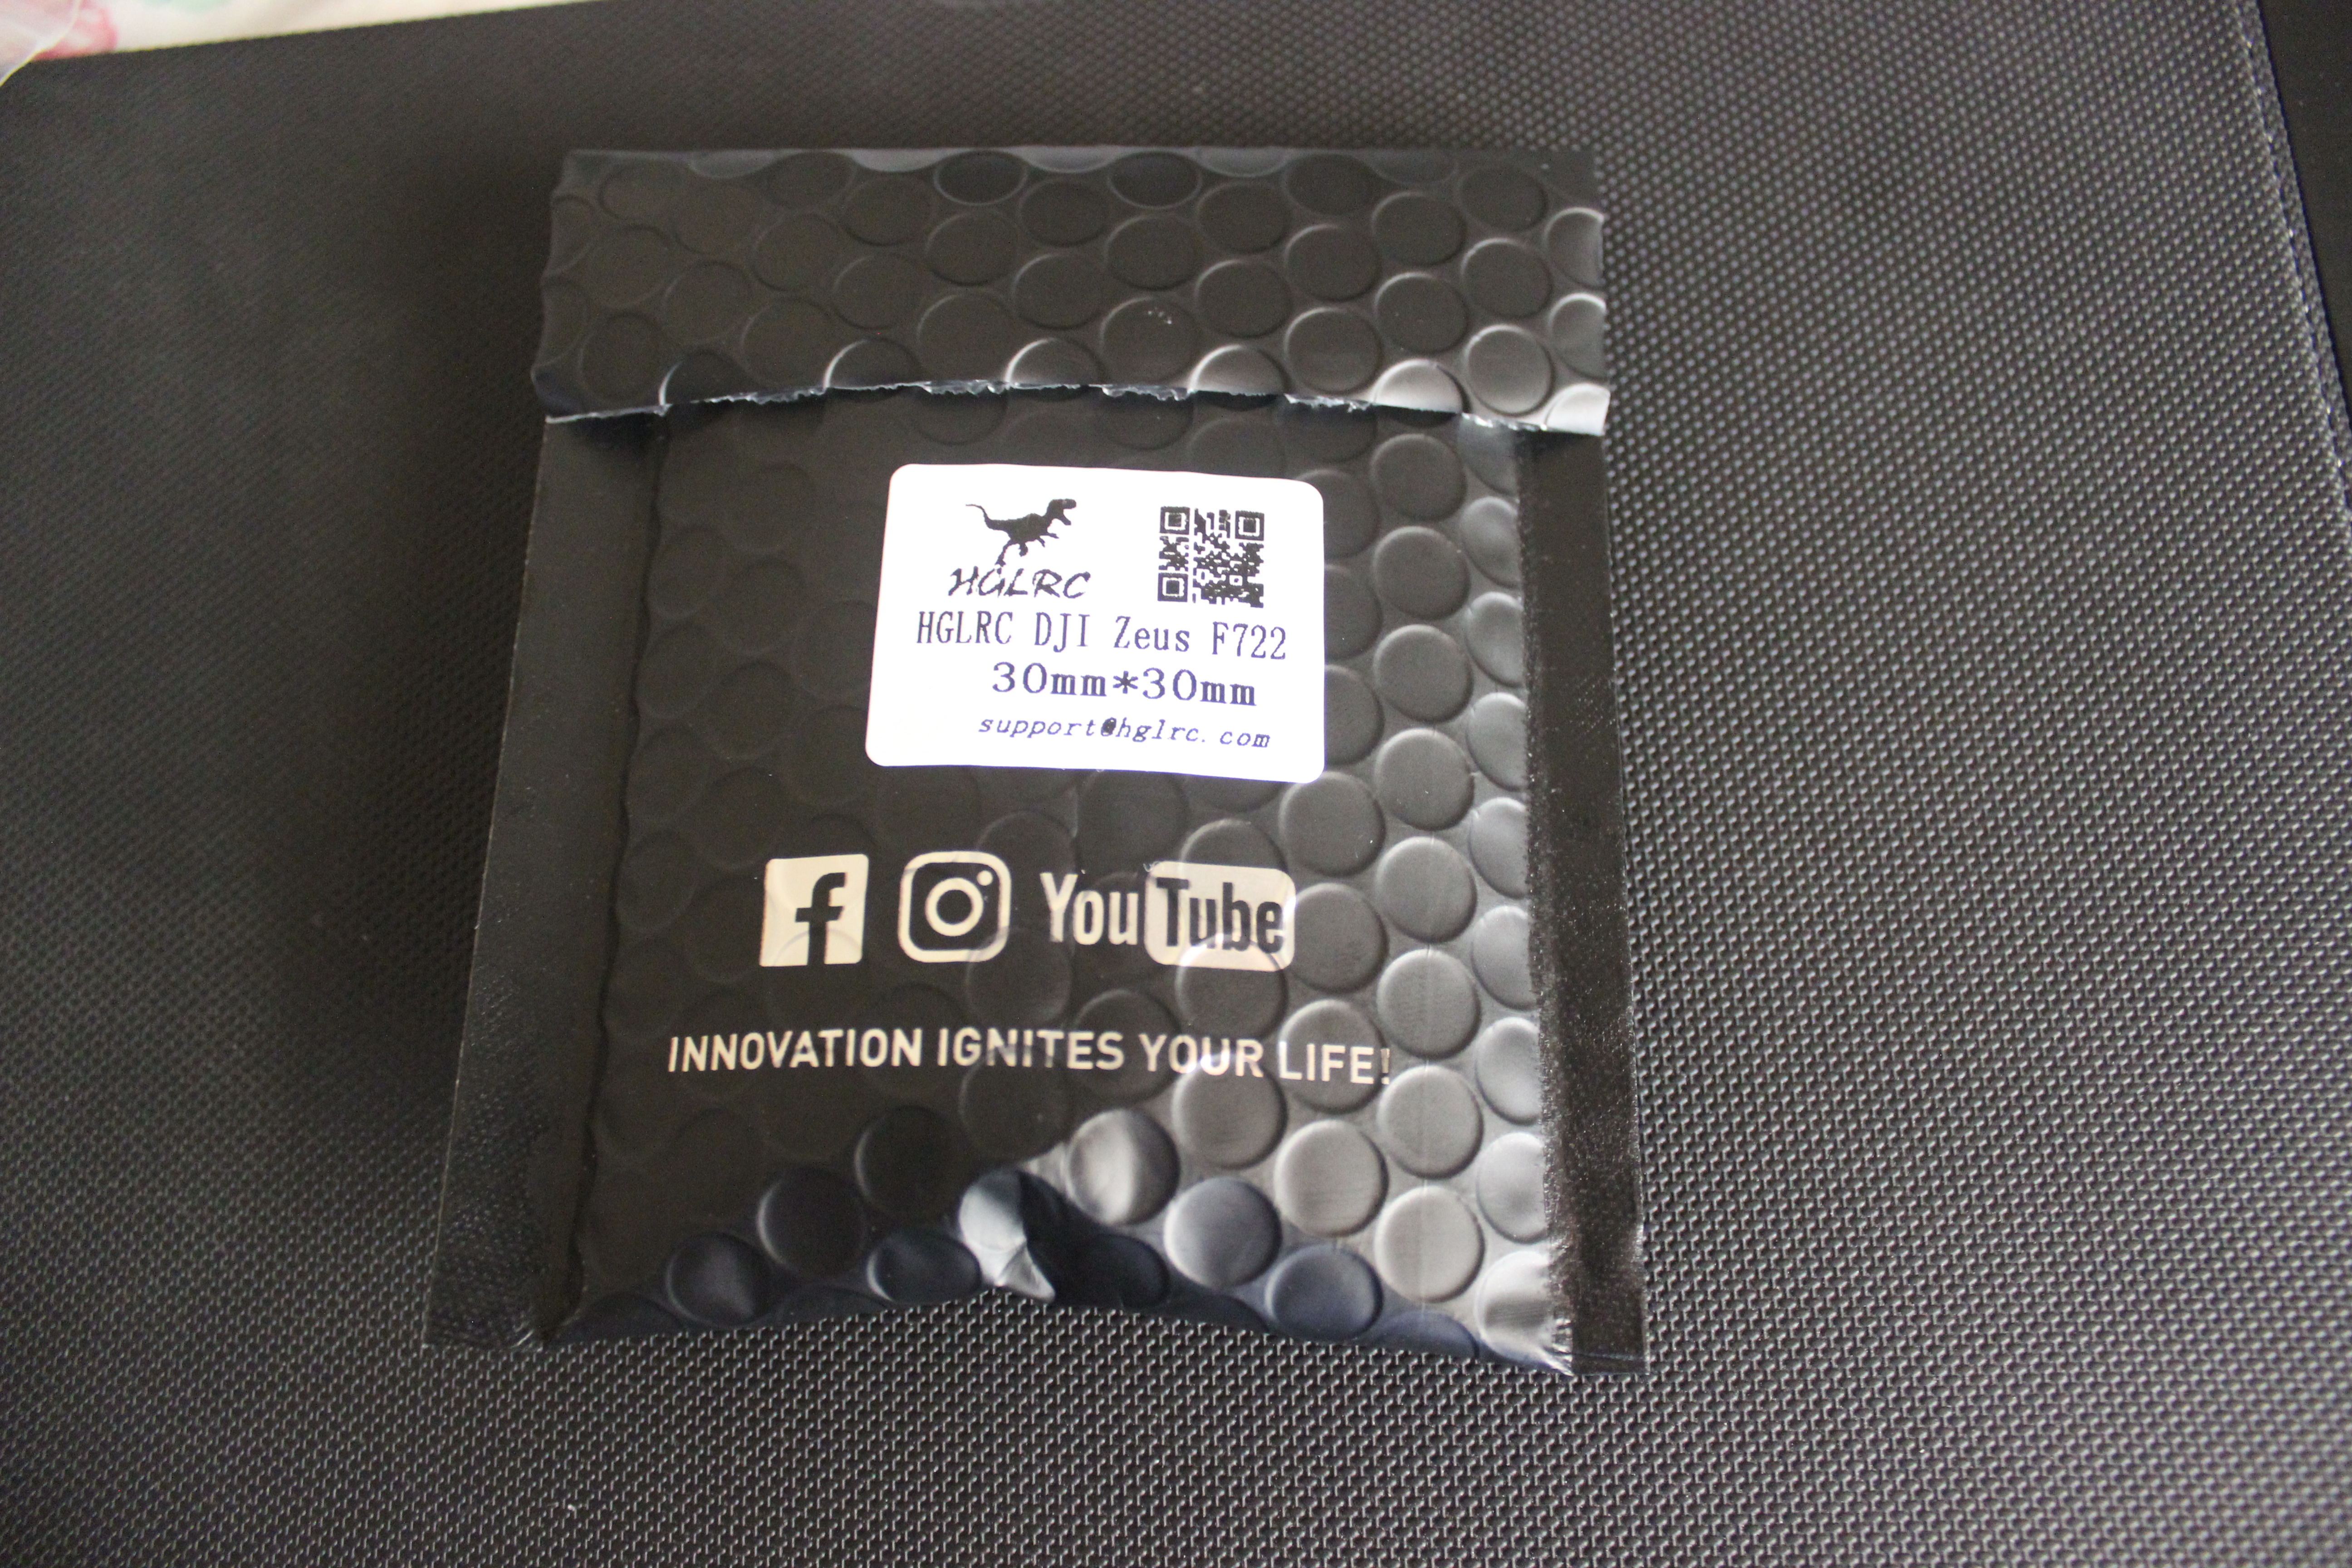
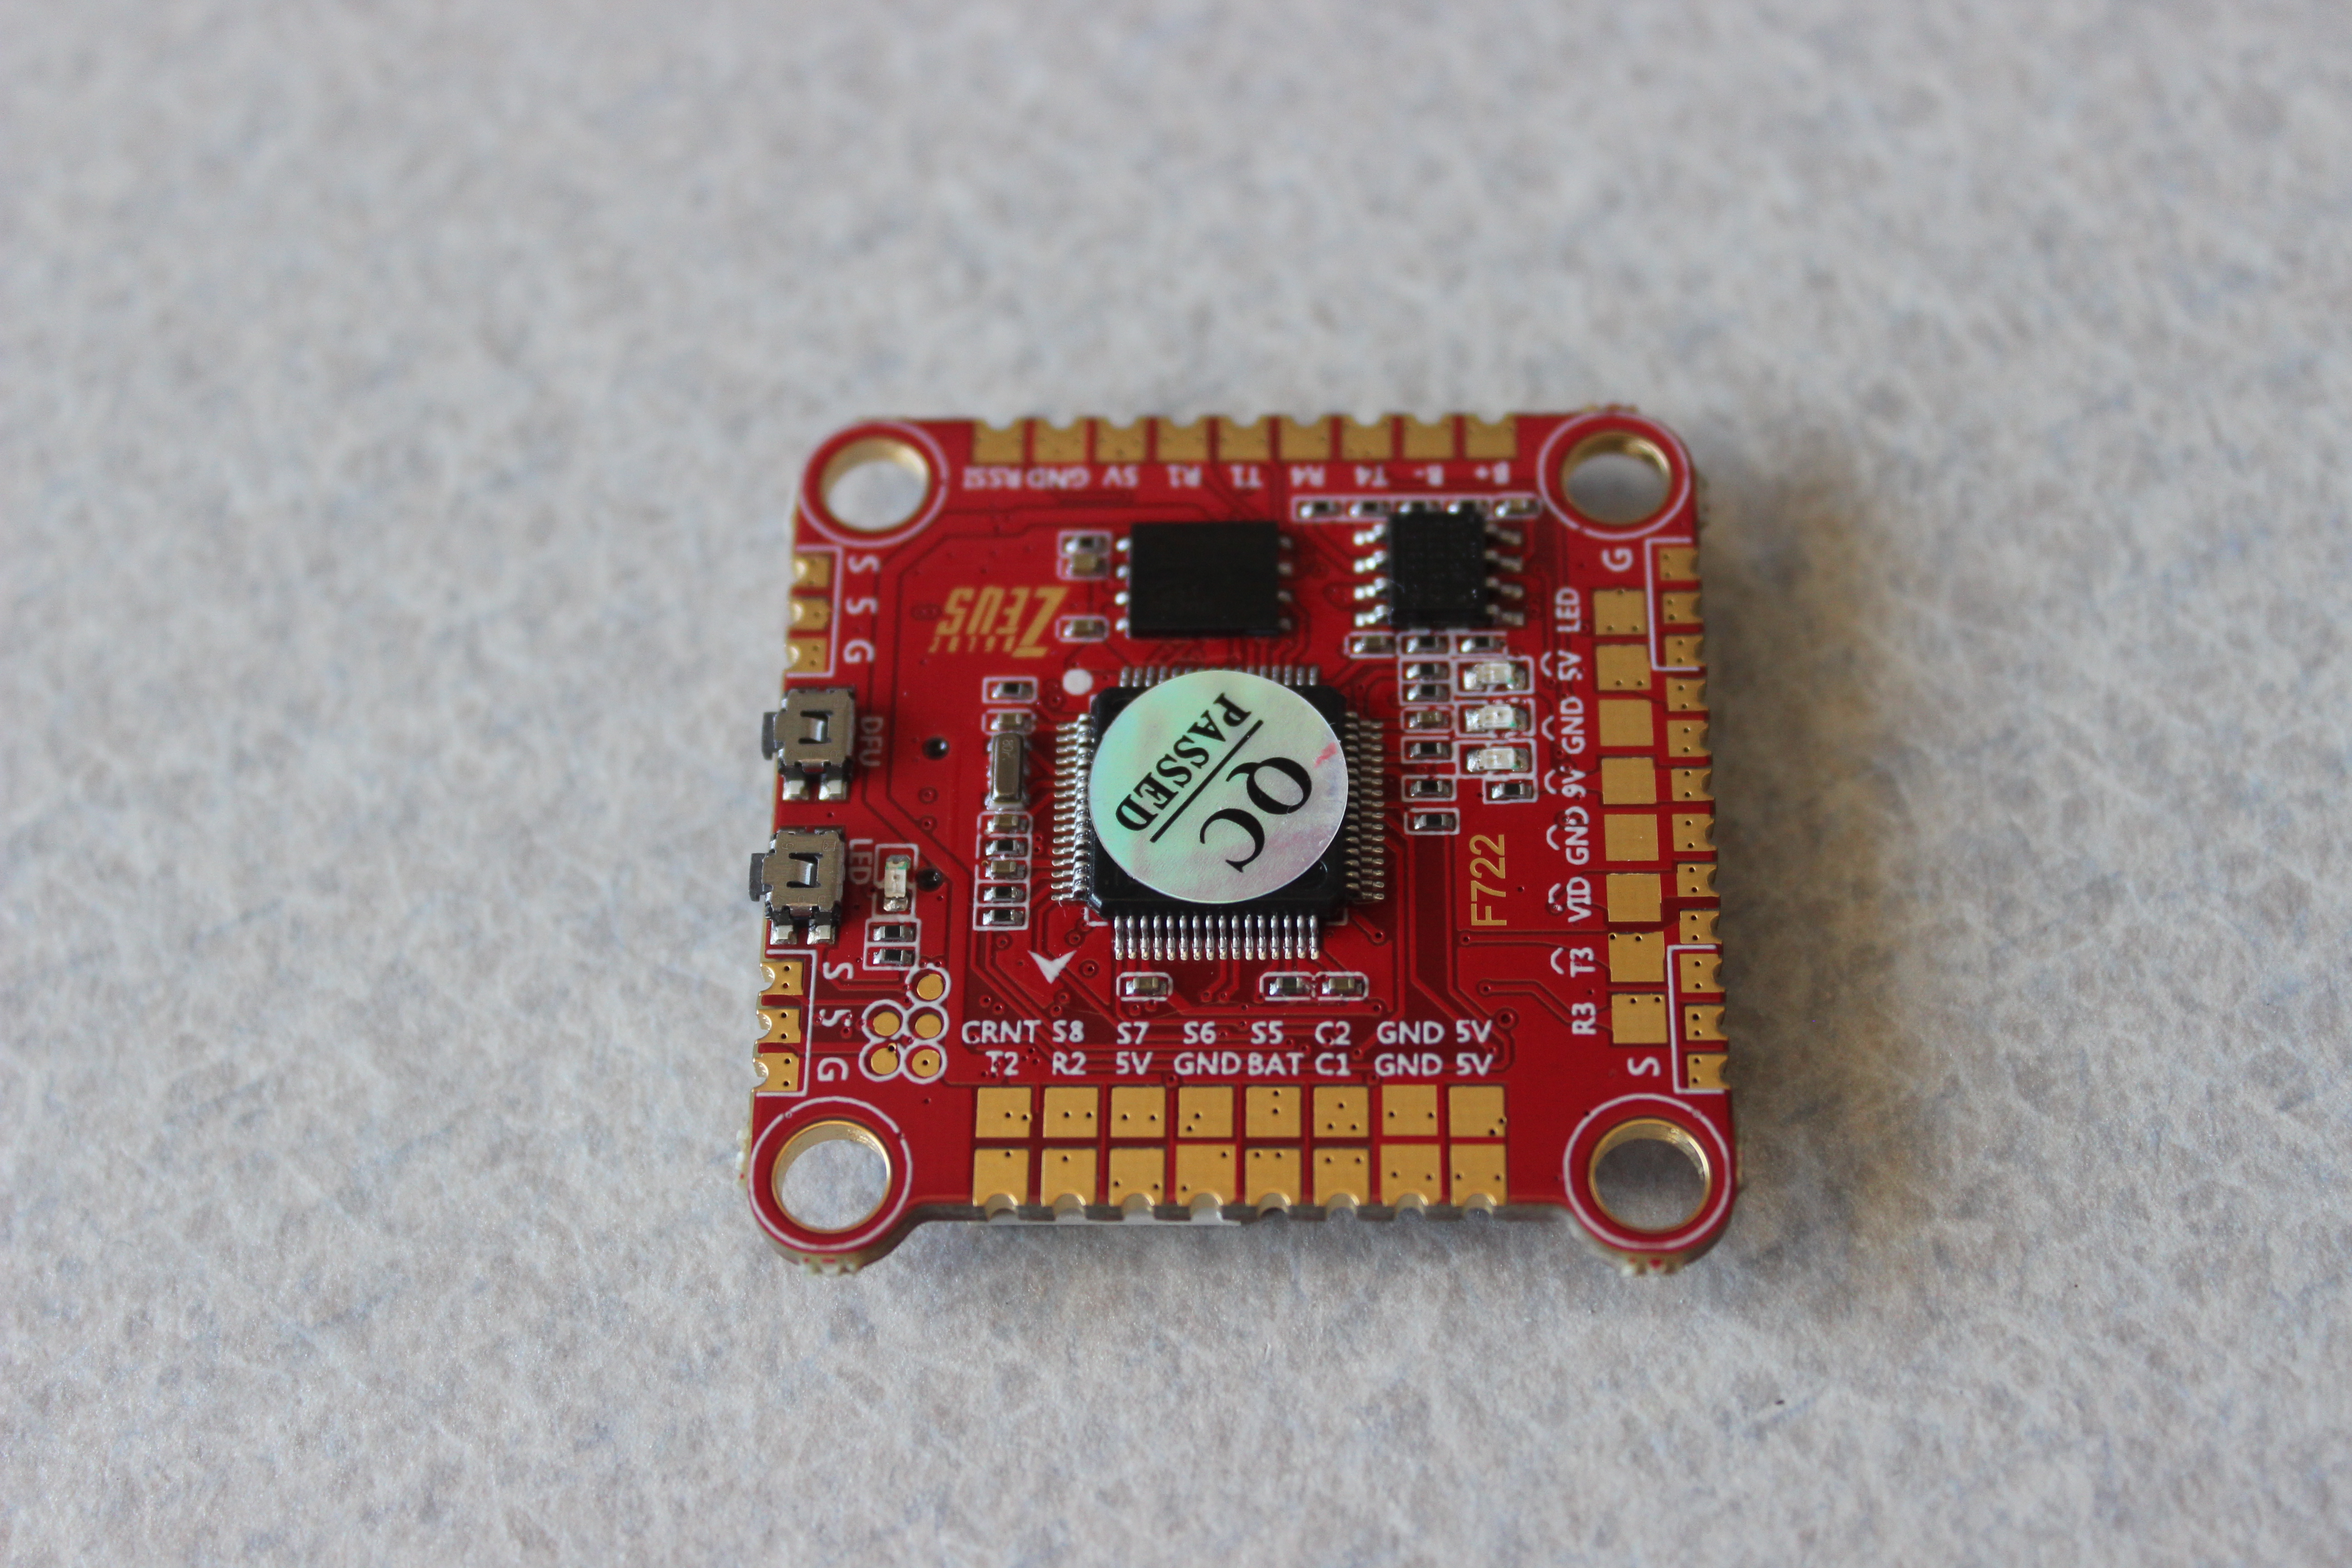
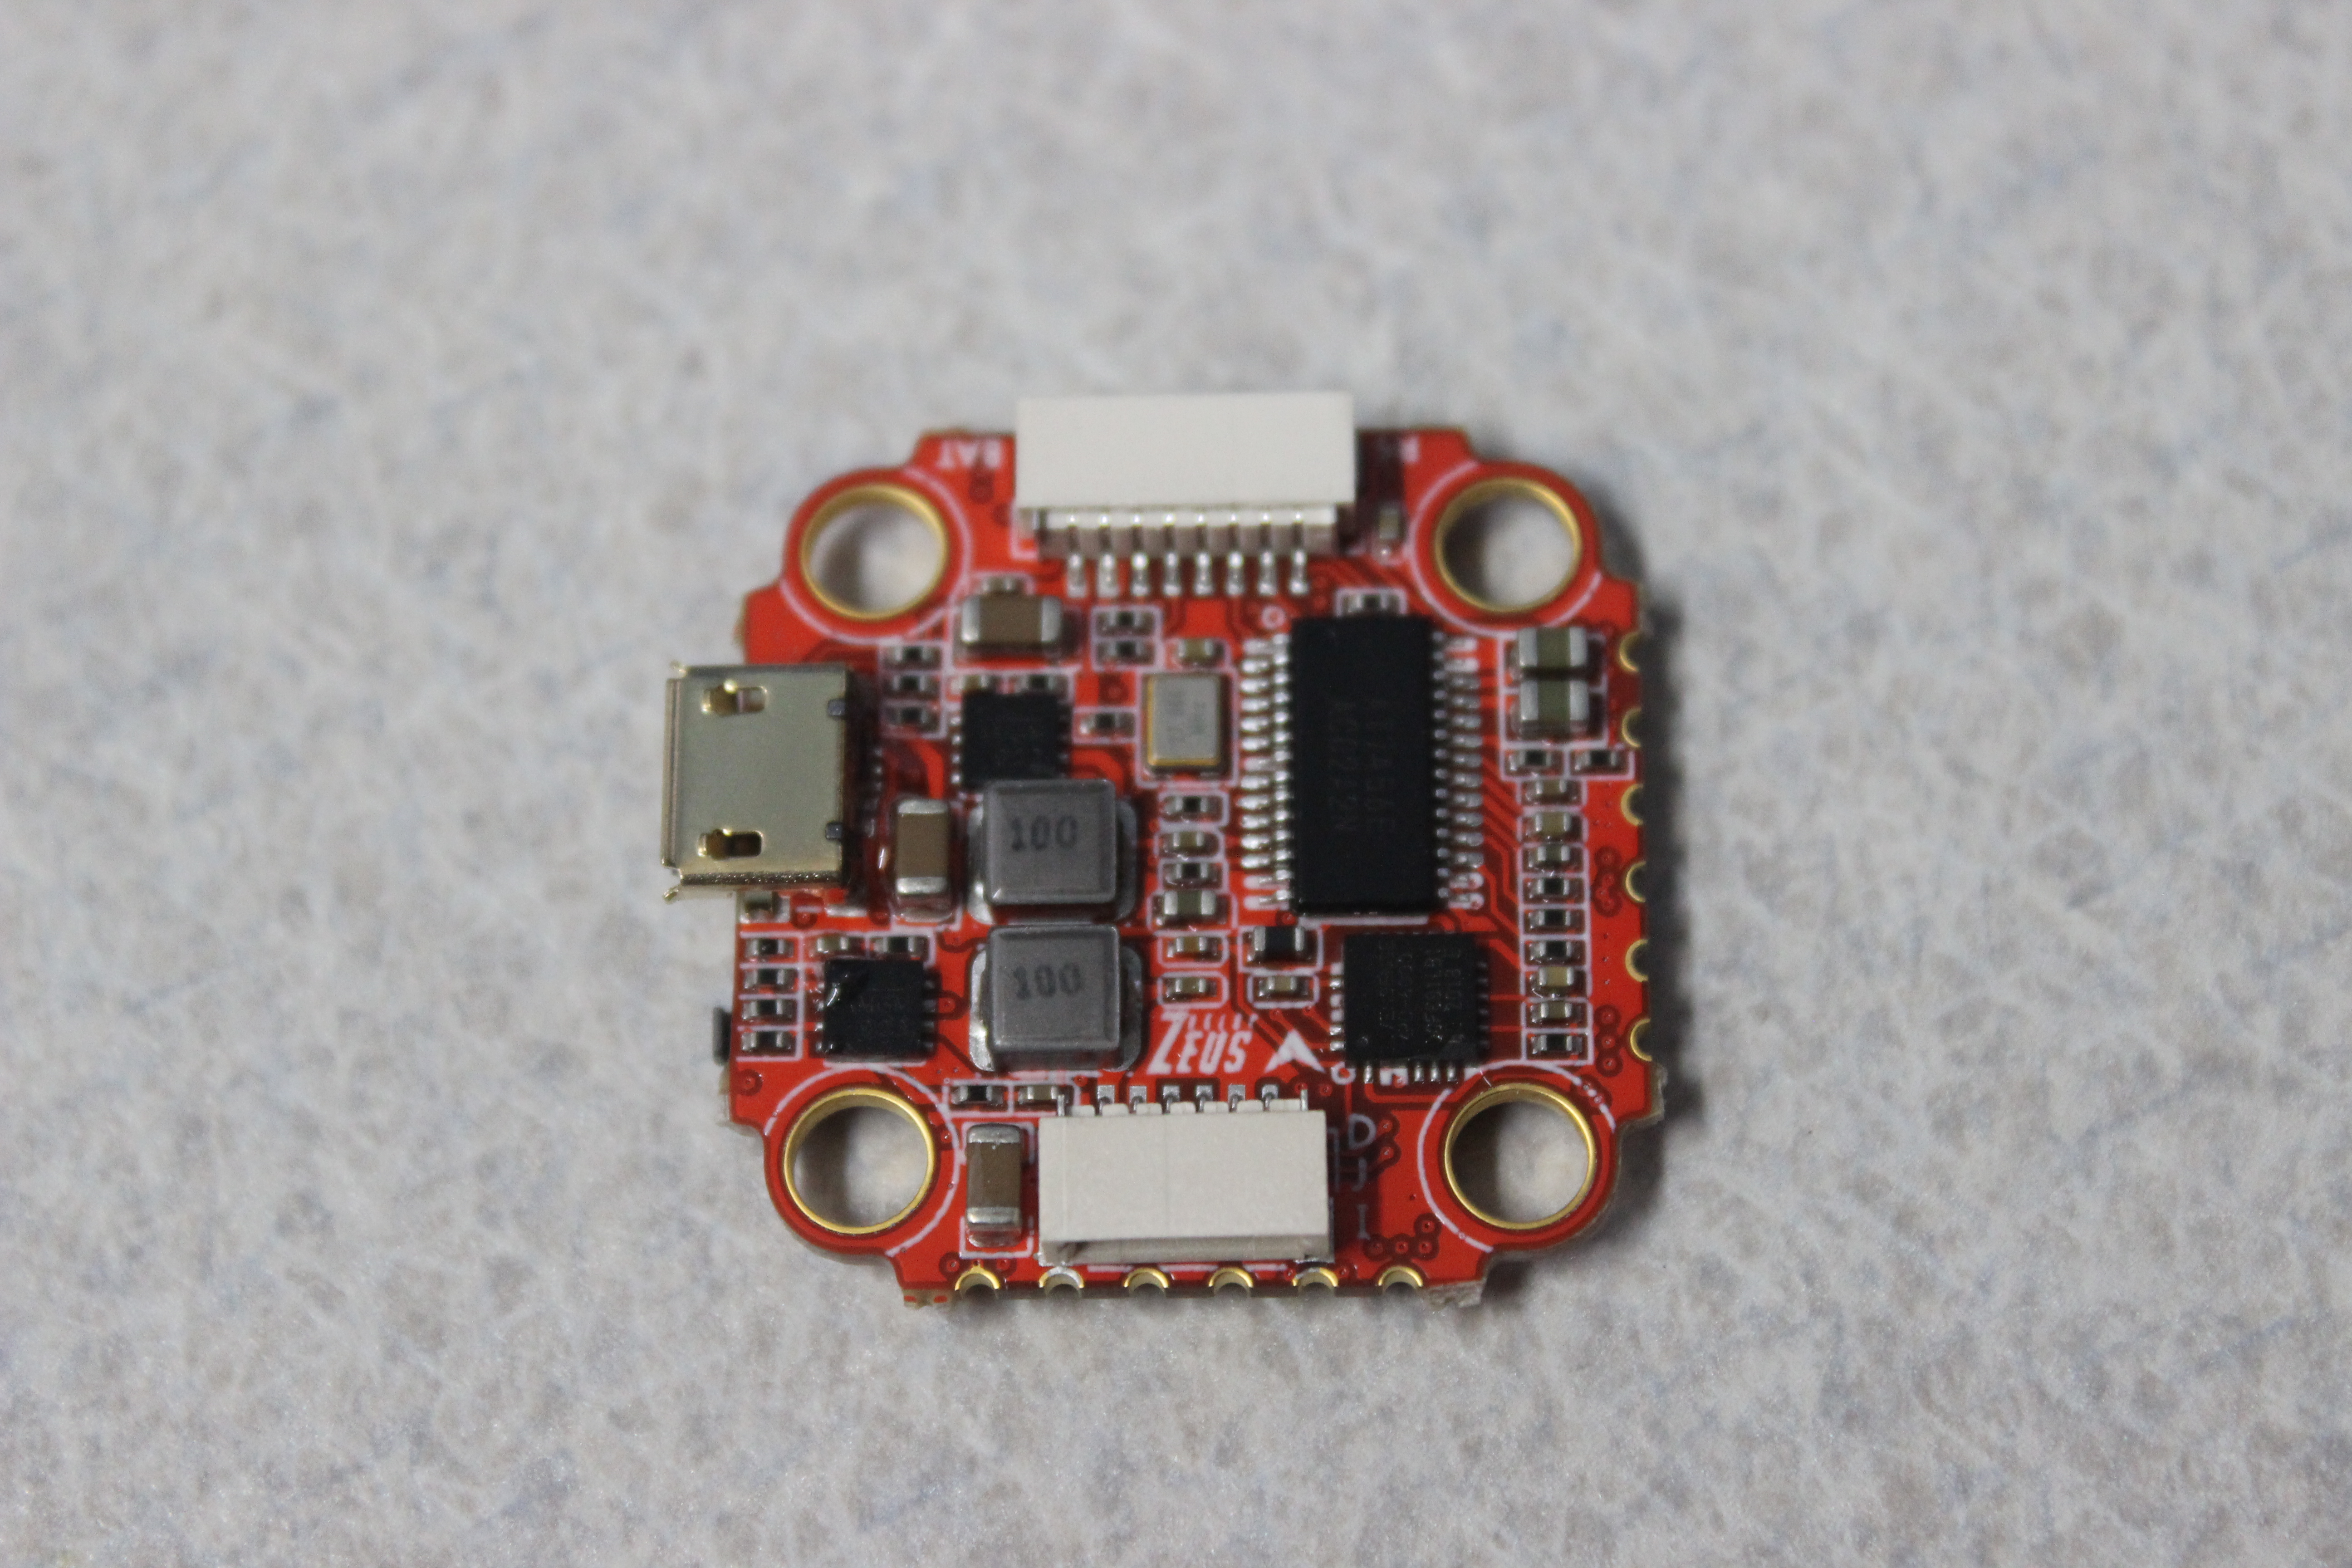
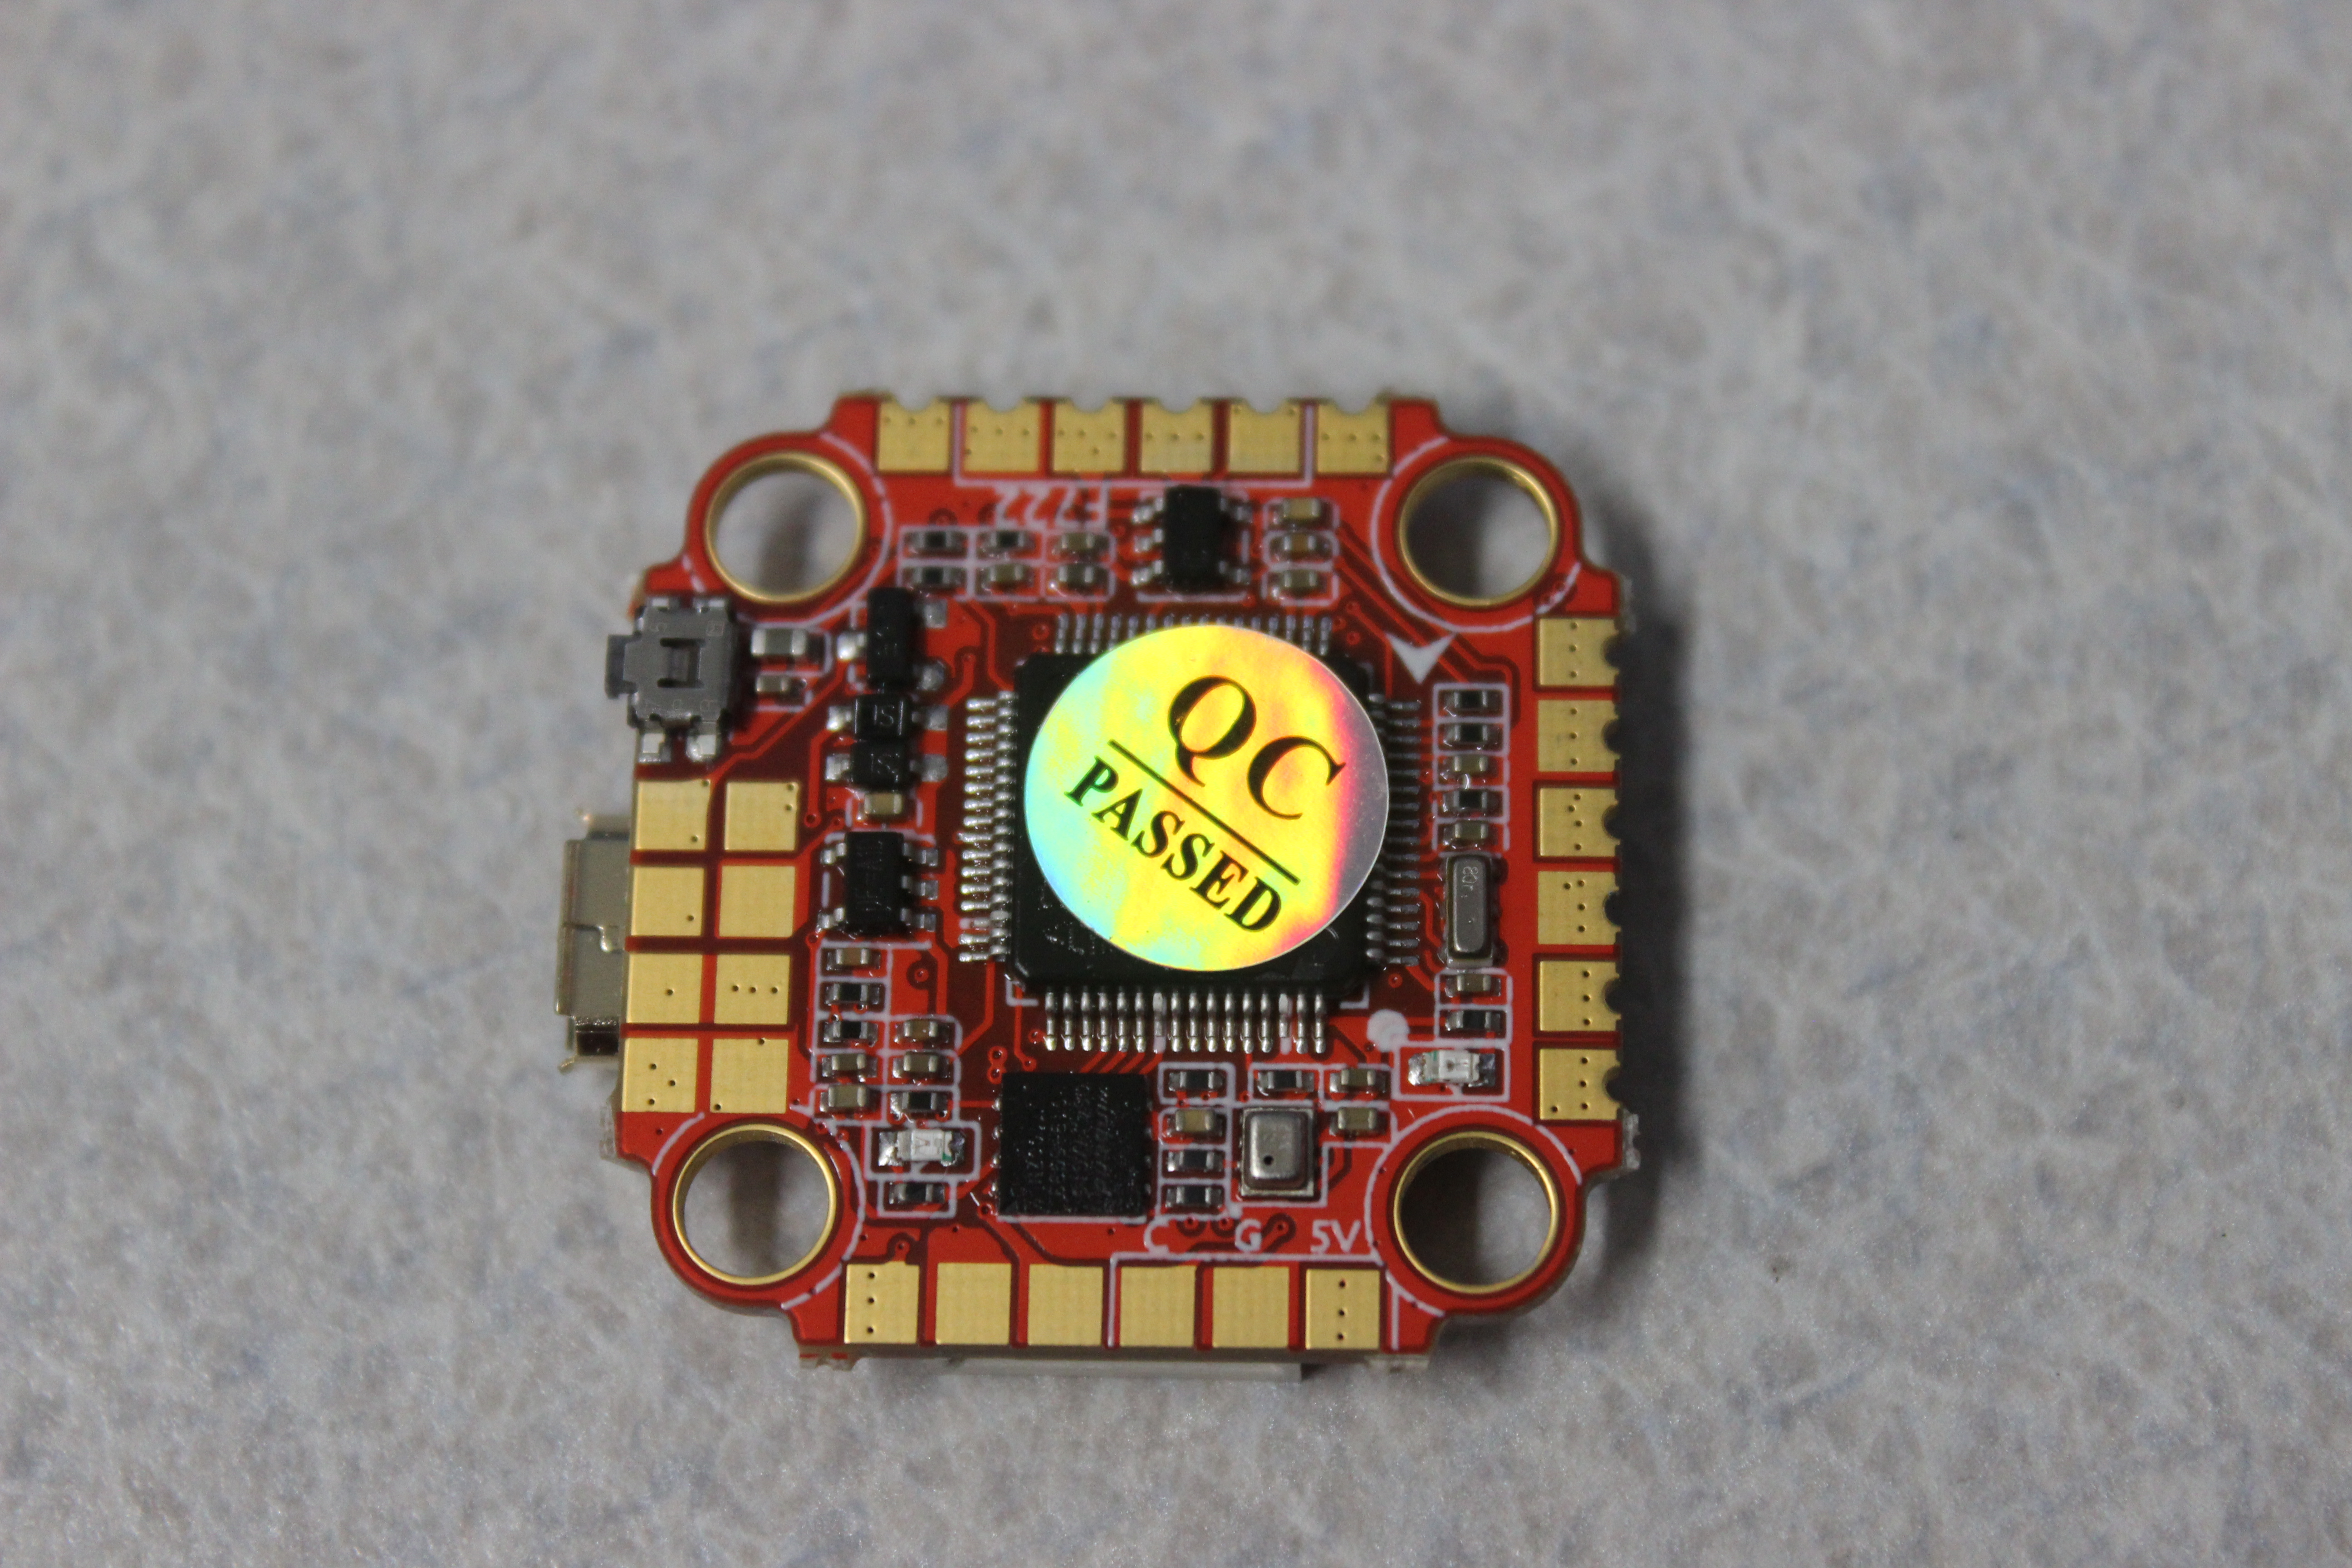
HGLRC DJI Zeus F722
   Firmware: BF HGLRCF722(HGLR)
   CPU: STM32F722 RET6
   Gyro: MPU6000
   UARTS: 5
   Input Voltage: 3-6S Lipo
   Barometer: BMP280(I2C)
   Installing Hole: 30.5mm x 30.5mm M3
   Weight: 8.1g
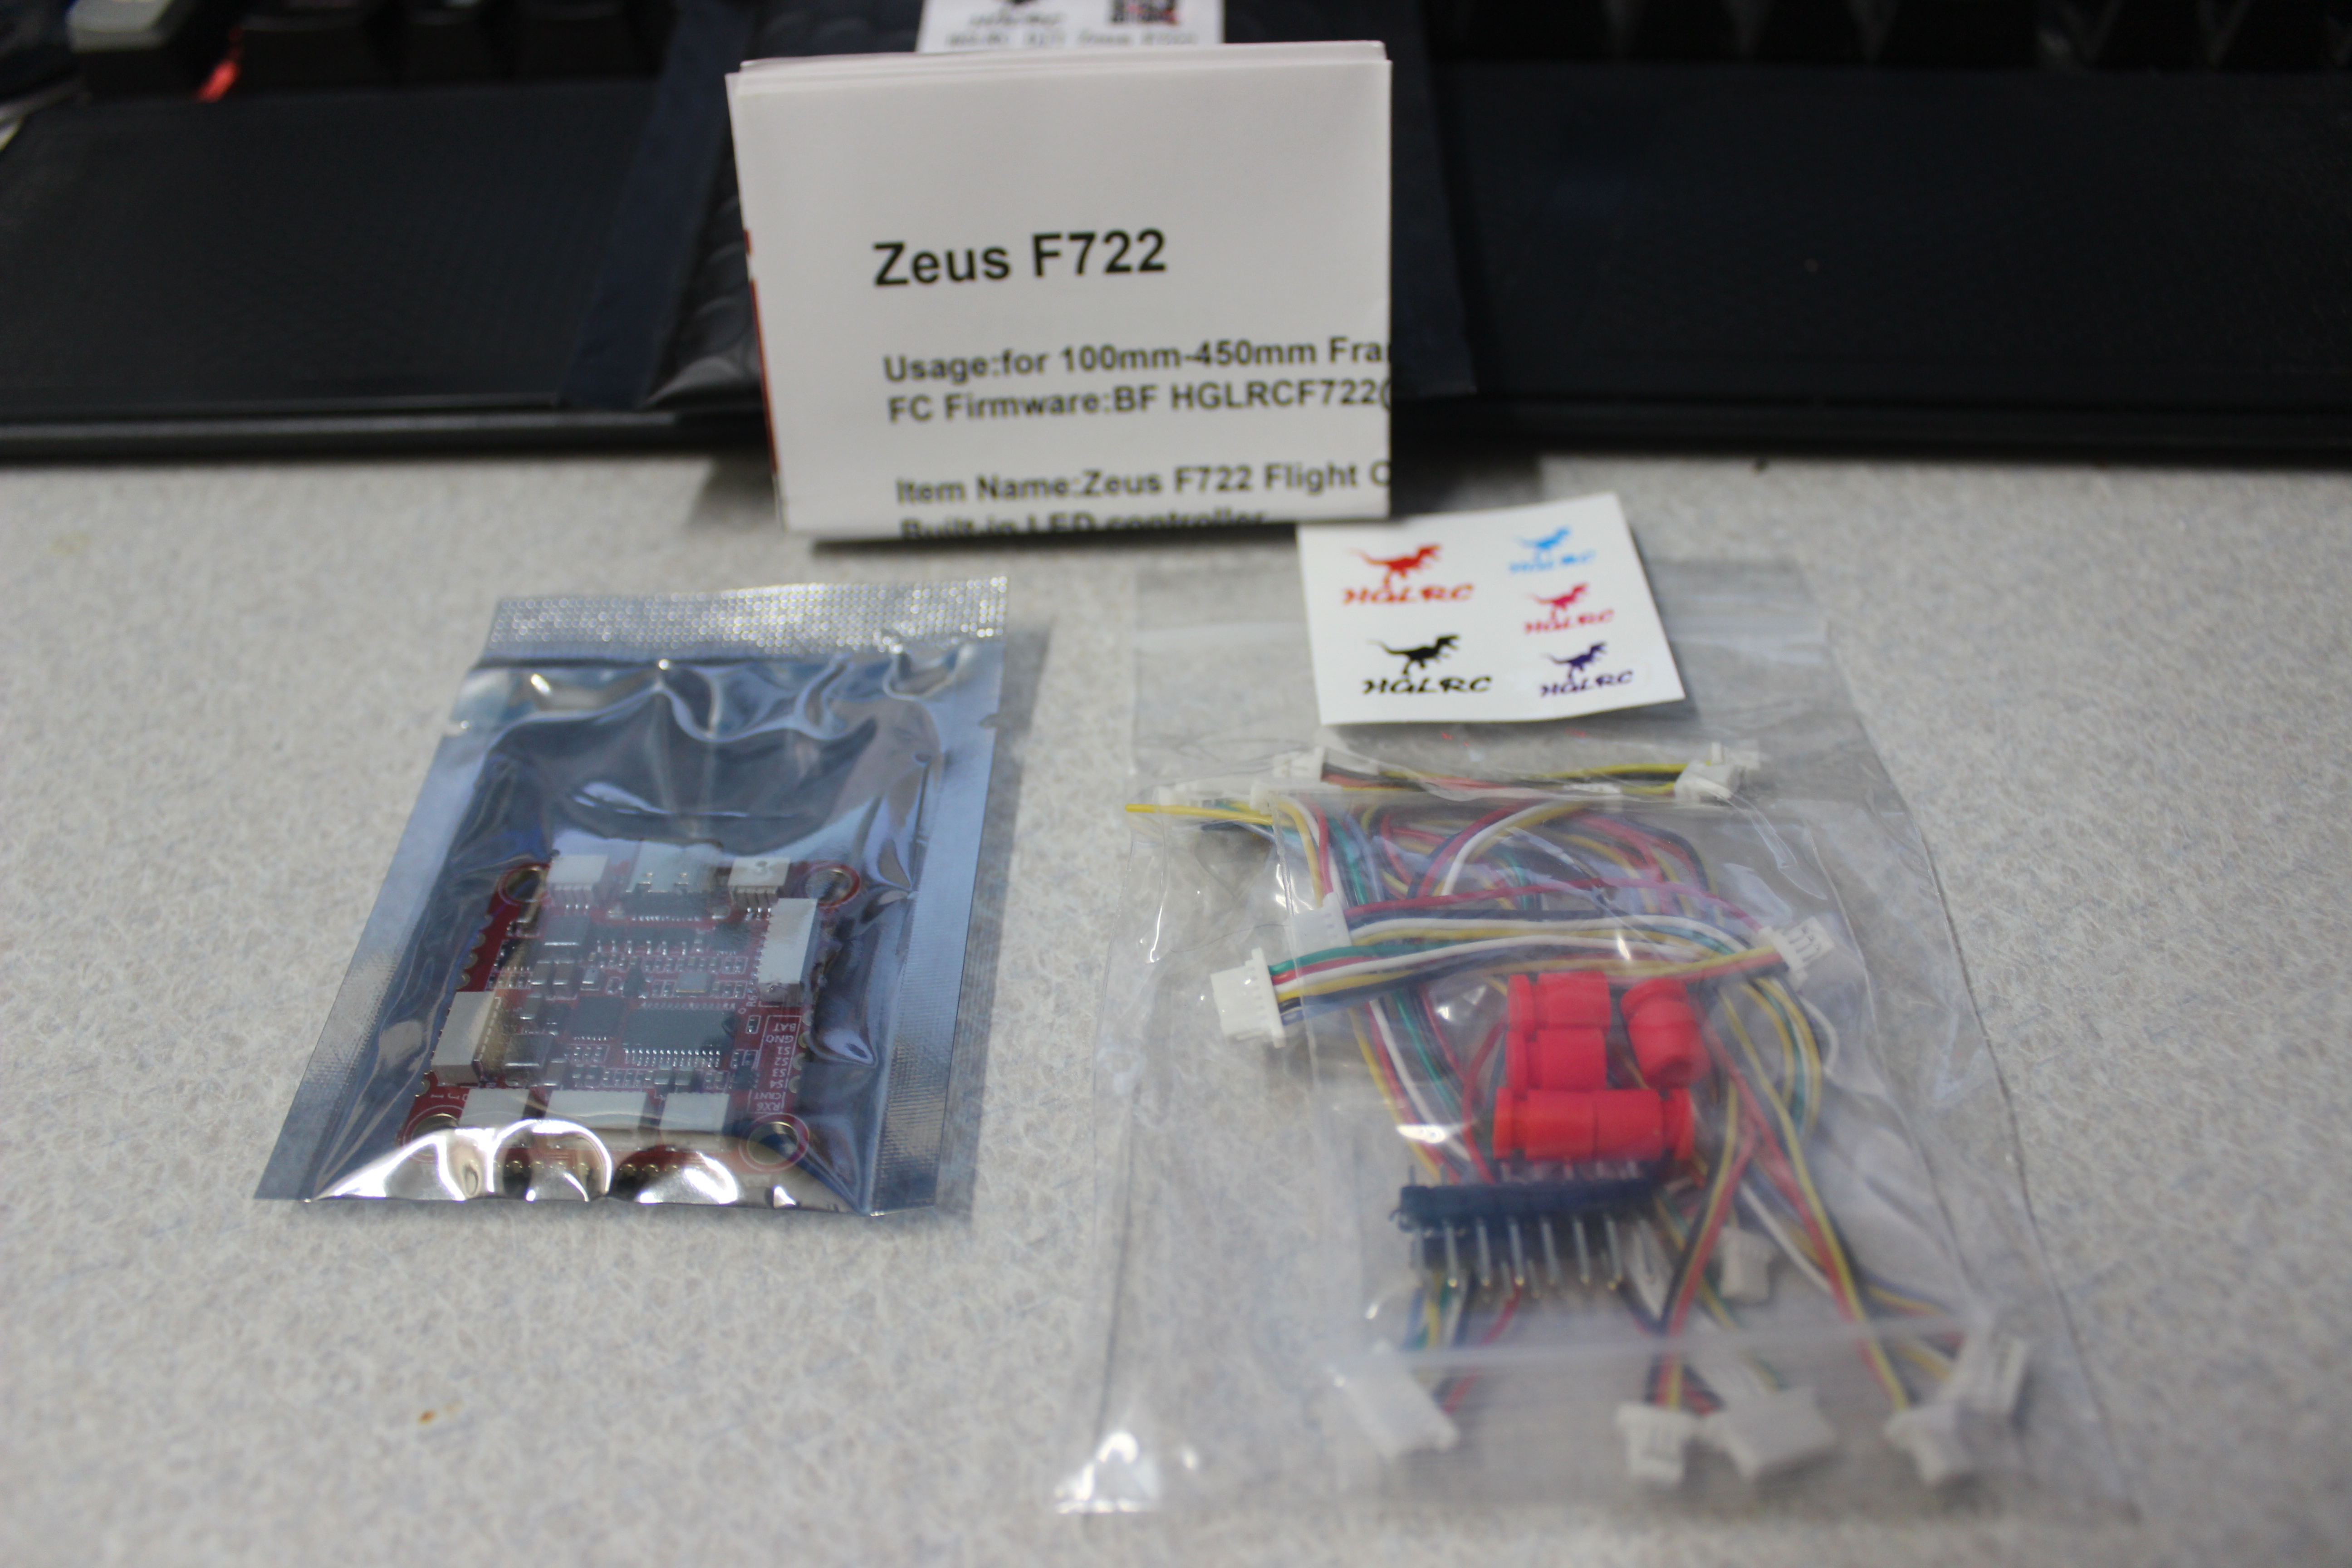
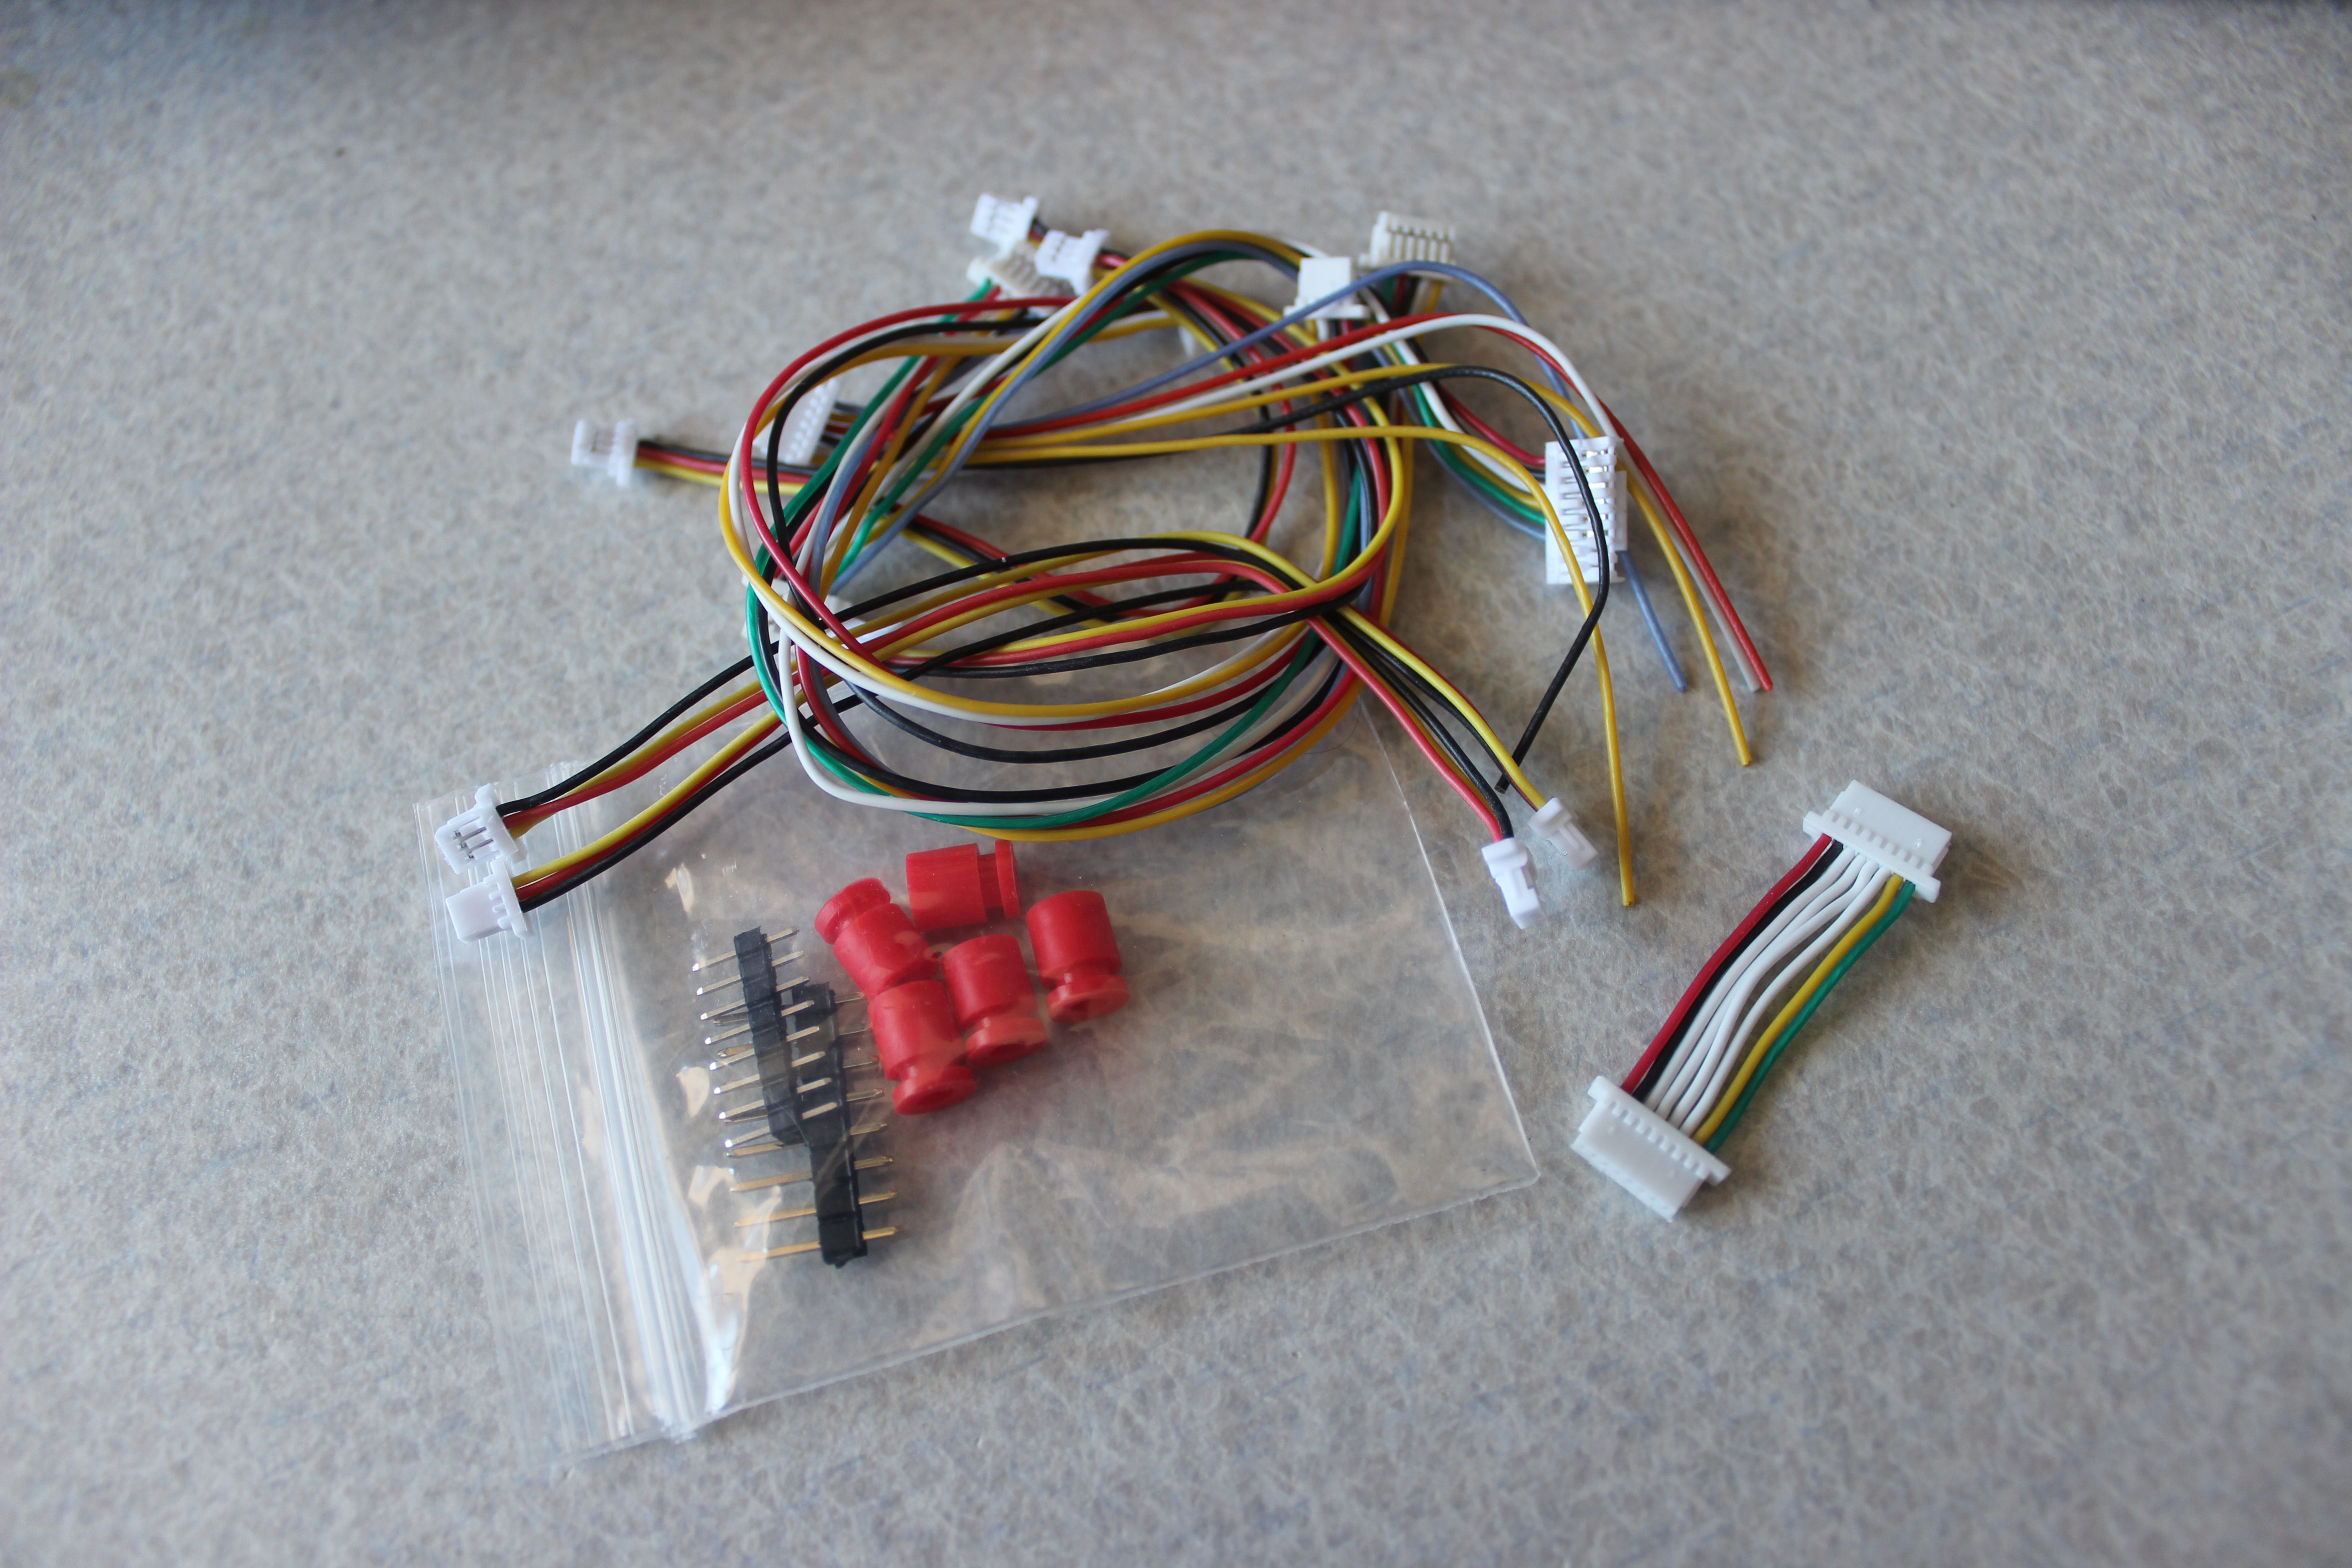
What’s included:
   1x Zeus F722 Flight Controller
   4x M3 red gummies
   1x SH1.0 8PIN 60mm cable
   1x 6P M81 GPS 140mm dedicated cable
   1x 4P M80 GPS 140mm dedicated cable
   1x 6P DJI Air Unit 90mm cable

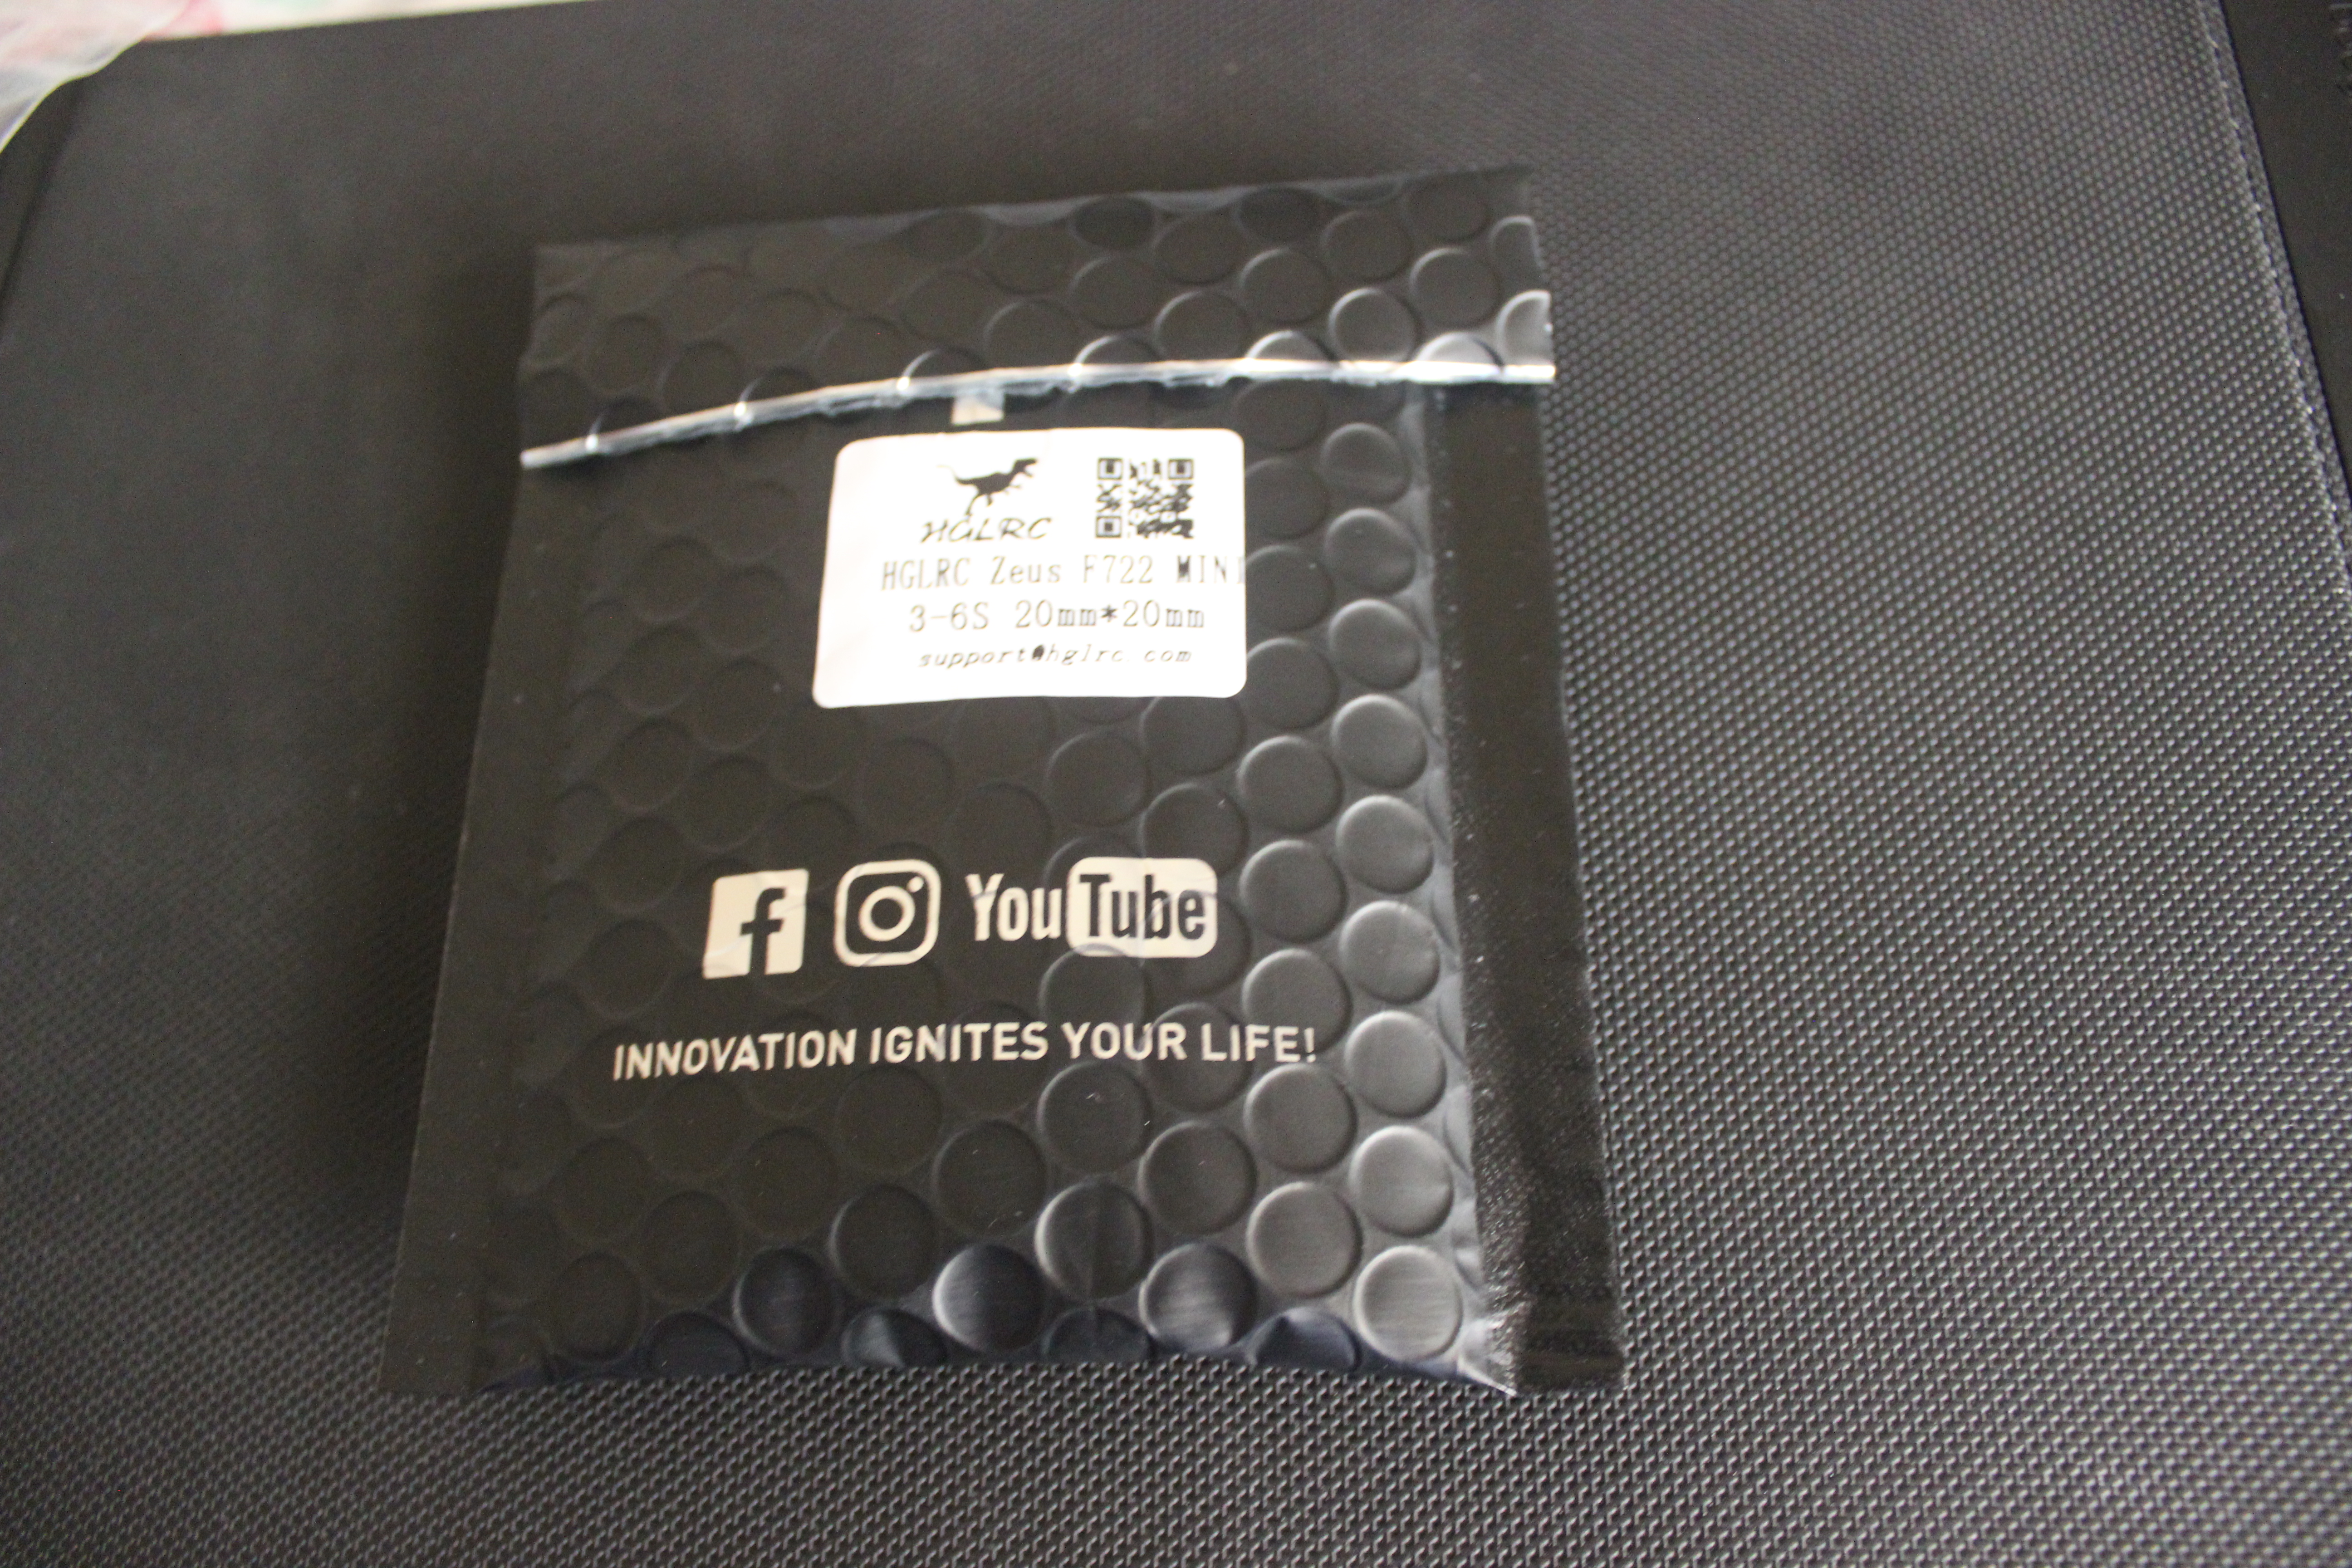
HGLRC Zeus F722 Mini
   Firmware: BF HGLRCF722(HGLR)
   CPU: STM32F722 RET6
   Gyro: MPU6000
   UARTS: 5
   Input Voltage: 3-6S Lipo
   Barometer: BMP280(I2C)
   Installing Hole: 20mm x 20mm M2/M3
   Weight: 4.6g
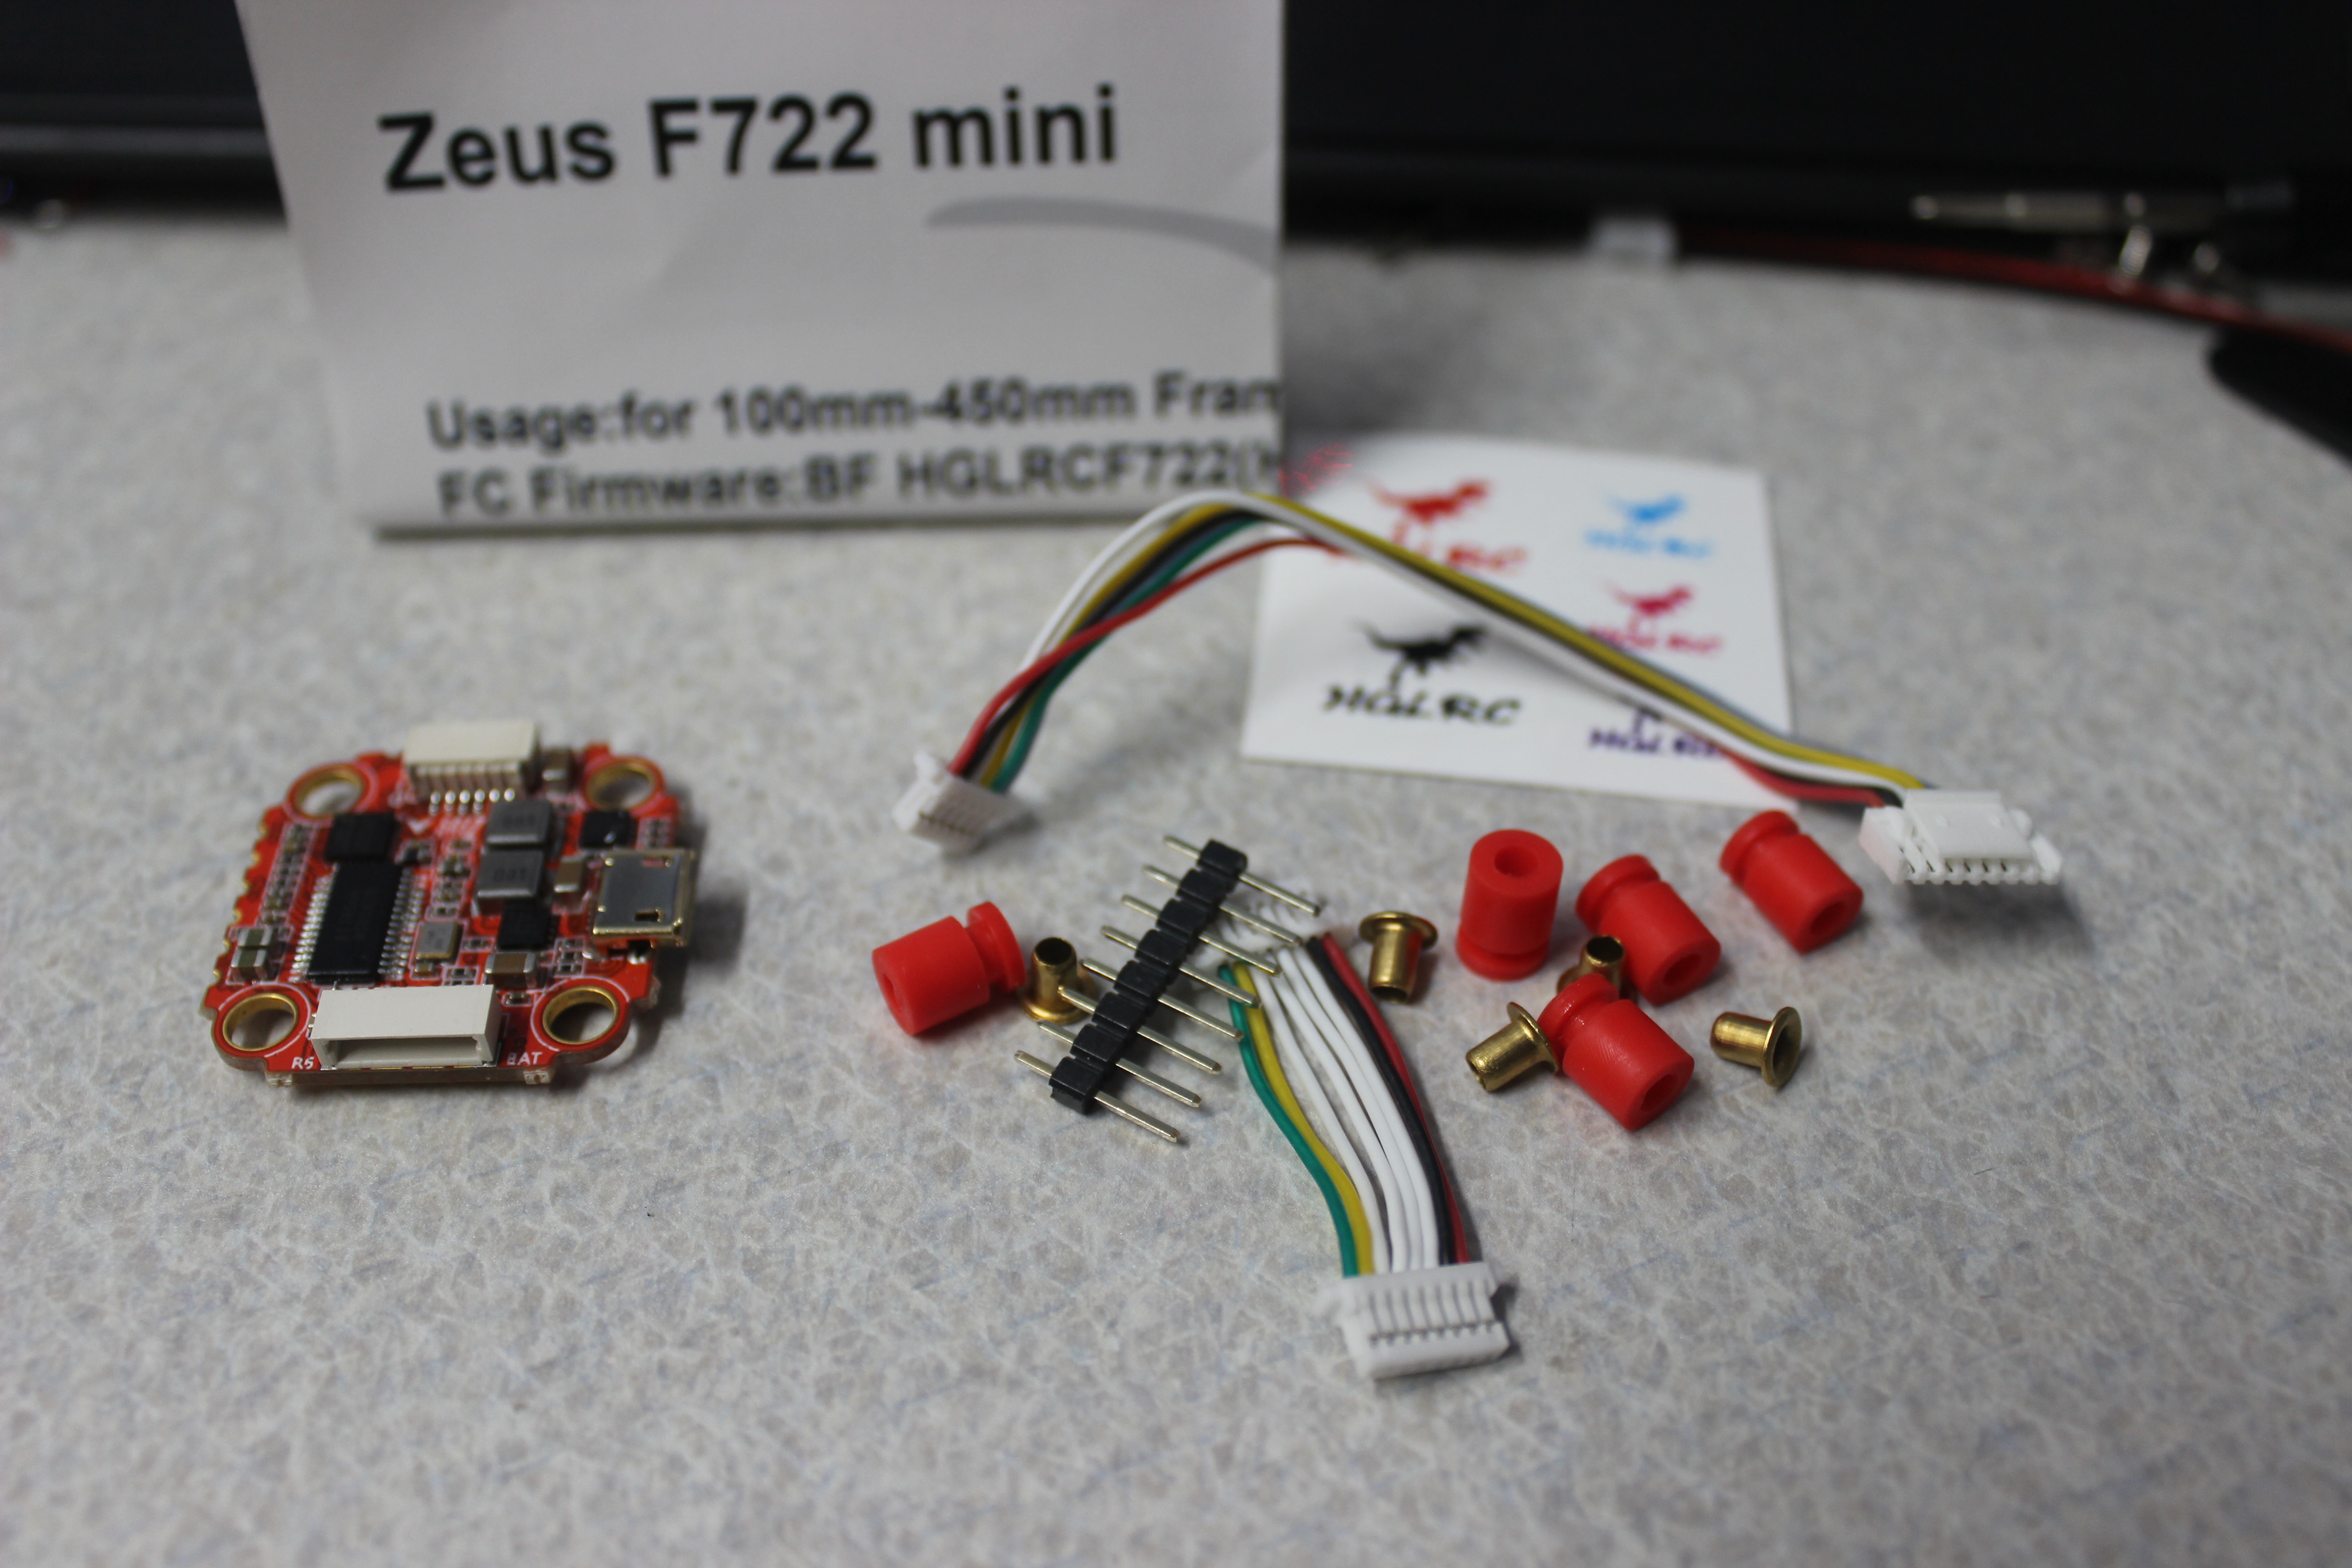
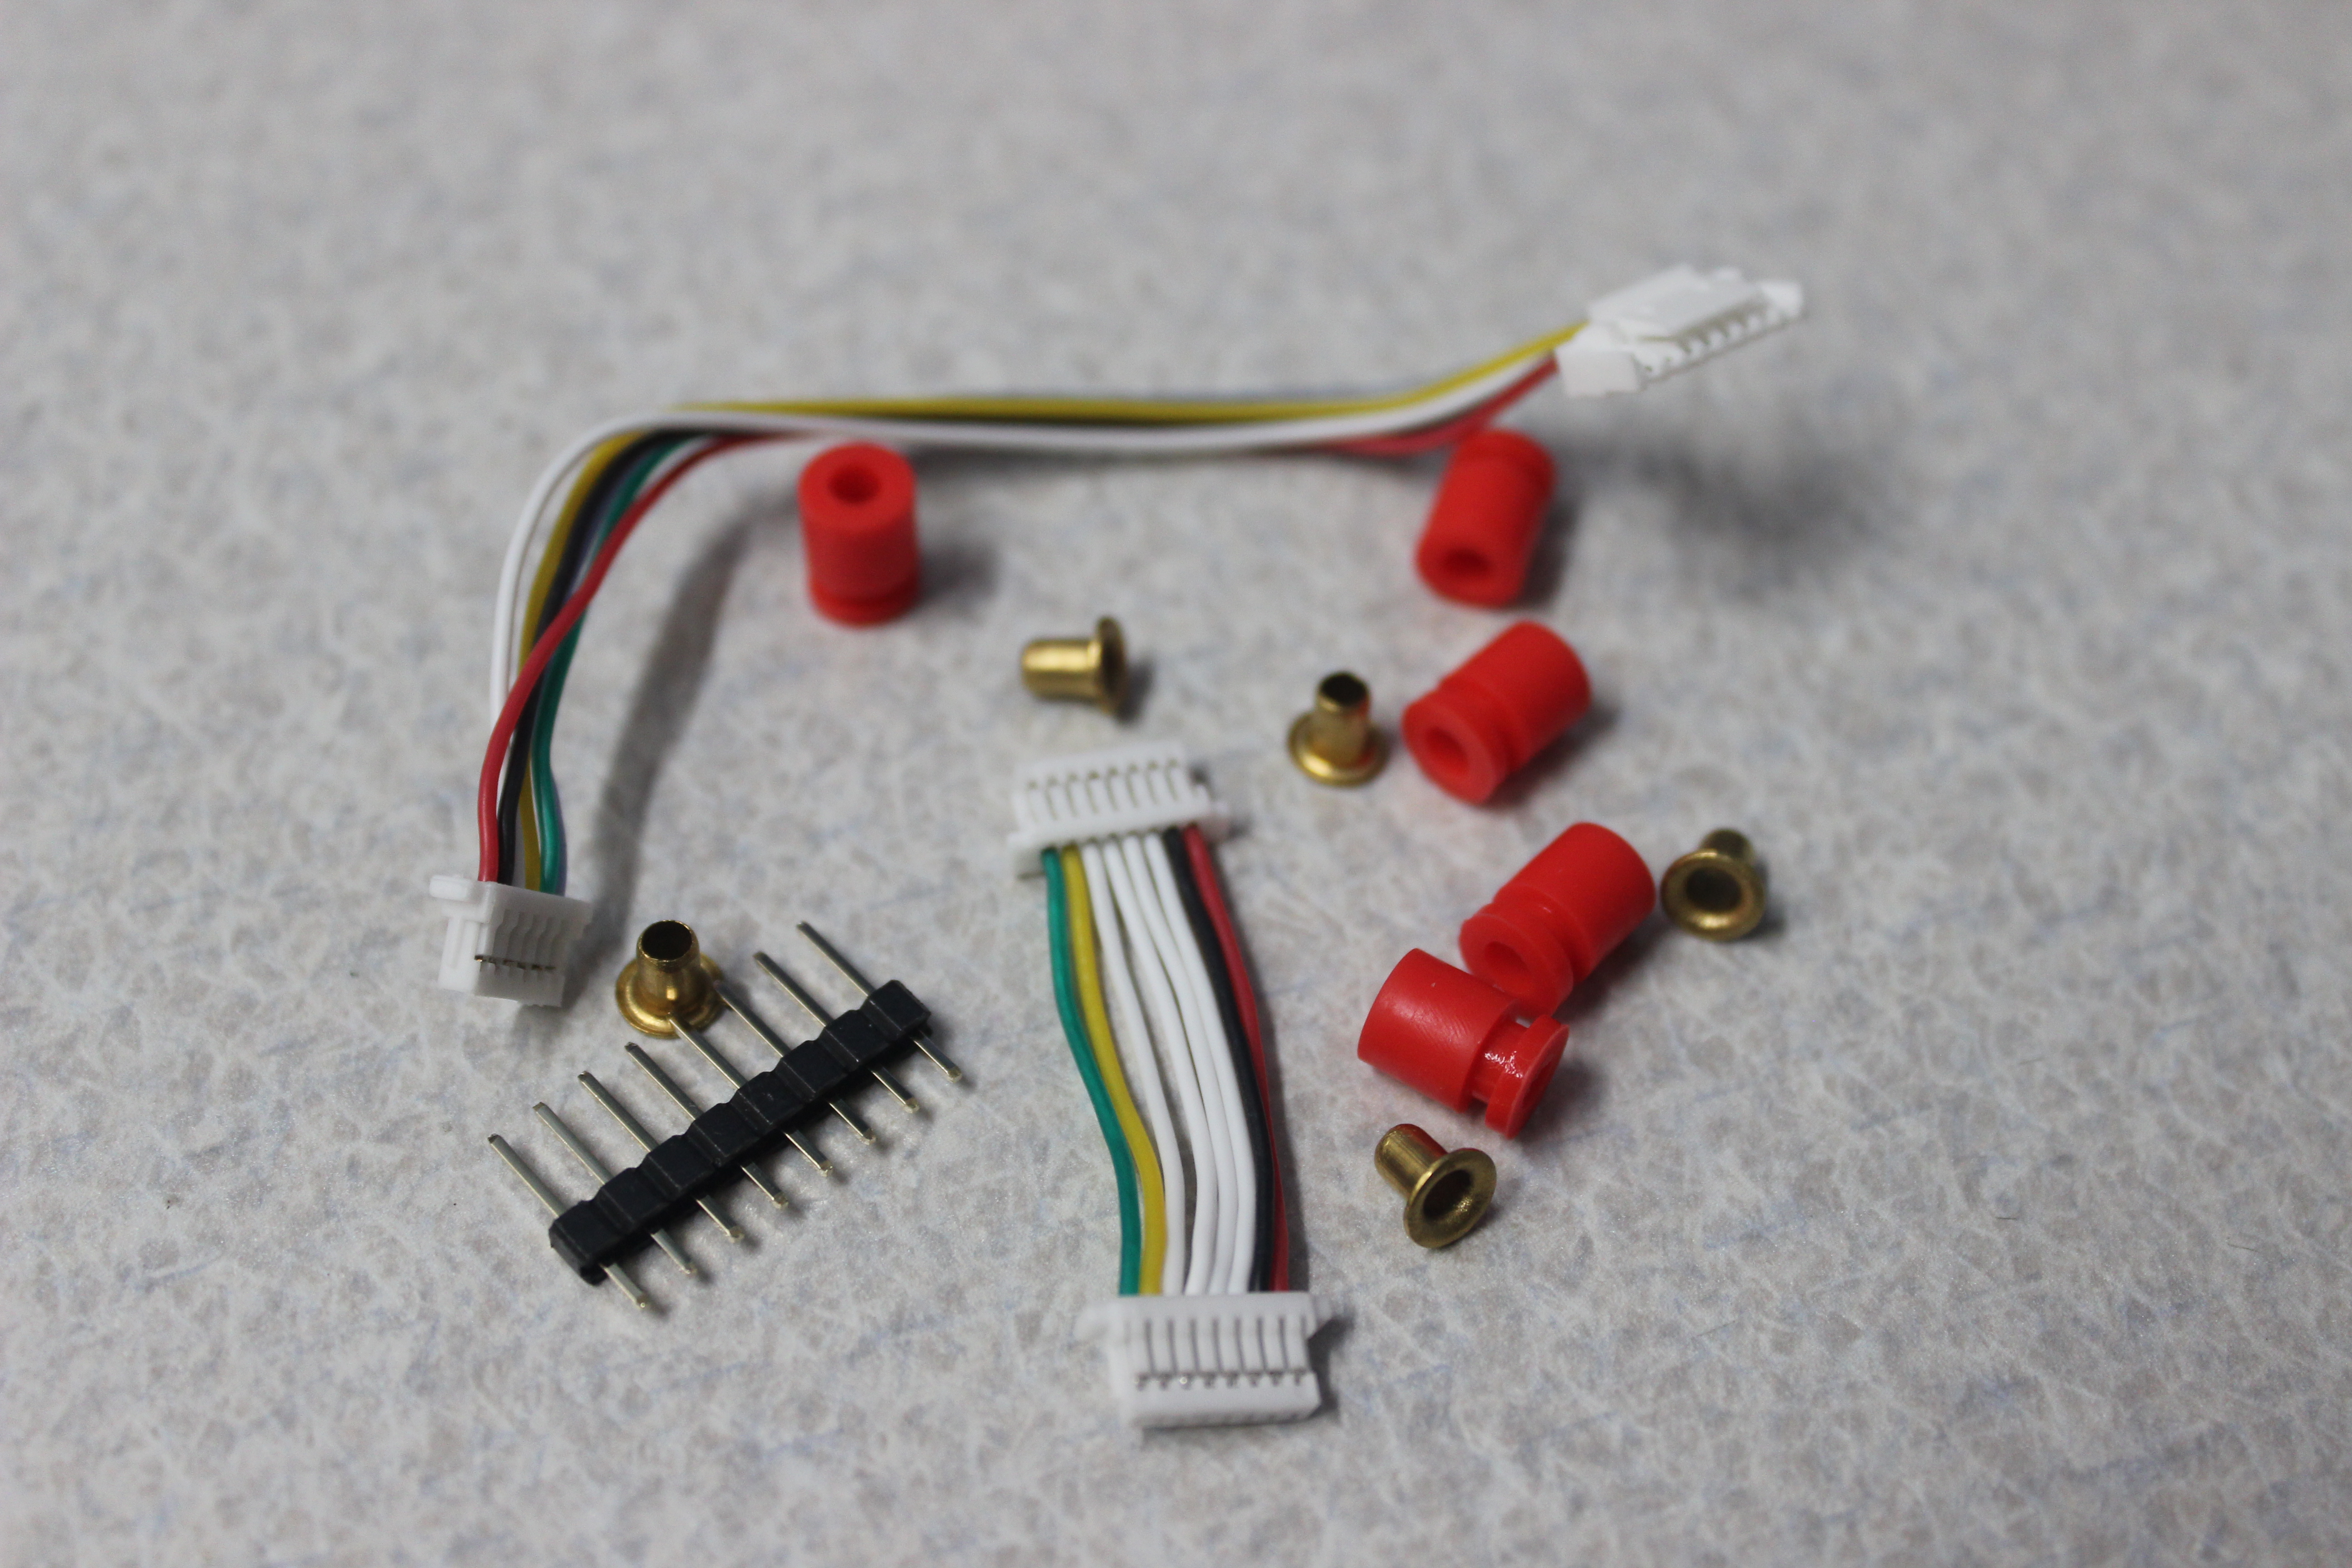
What’s included:
   1x Zeus F722 Mini Flight Controller
   5x M3 red gummies
   5x M3 to M2 stack mount adapters
   1x SH1.0 8P 60mm cable
   1x DJI Air Unit 90mm cable
HGLRC GPS-M80
   Chip: M8030
   Input Power: 5V
   Antenna: Ceramic Antenna
   Receiver Format: GPS,GLONASS,GALILEO,QZSS,SBAS,BDS
   Receiver Channel: 72 Channels
   DPS Rate: 57600 dps (Old batch uses 115200 dps rate)
   Output Protocol: UBLOX
   Output Frequency: 1Hz - 10Hz - Default: 10Hz
   Speed Precision: 0.05 m/s
   Level Positioning Precision: 2D Acc 1.5m (Open Sky)
   Receivier Sensitivity: Trace -167 dBm
   Capture Sensitivity: -160 dBm
   Max Height: 50000 m
   Max Speed: 500 m/s
   Max Acceleration: 4G
   Working Temperature: -40 C to 85 C
   Storage Temperature: -40 C to 105 C
   Size: 18.5mm x 18.5mm x 7.1mm
   Weight: 9.4g
What’s included:
   1x M80 GPS Unit
   1x 4 easy-to-solder wire cable
I got so excited in building, that I forgot to take a picture of this! You will see the unit installed on my quad below.
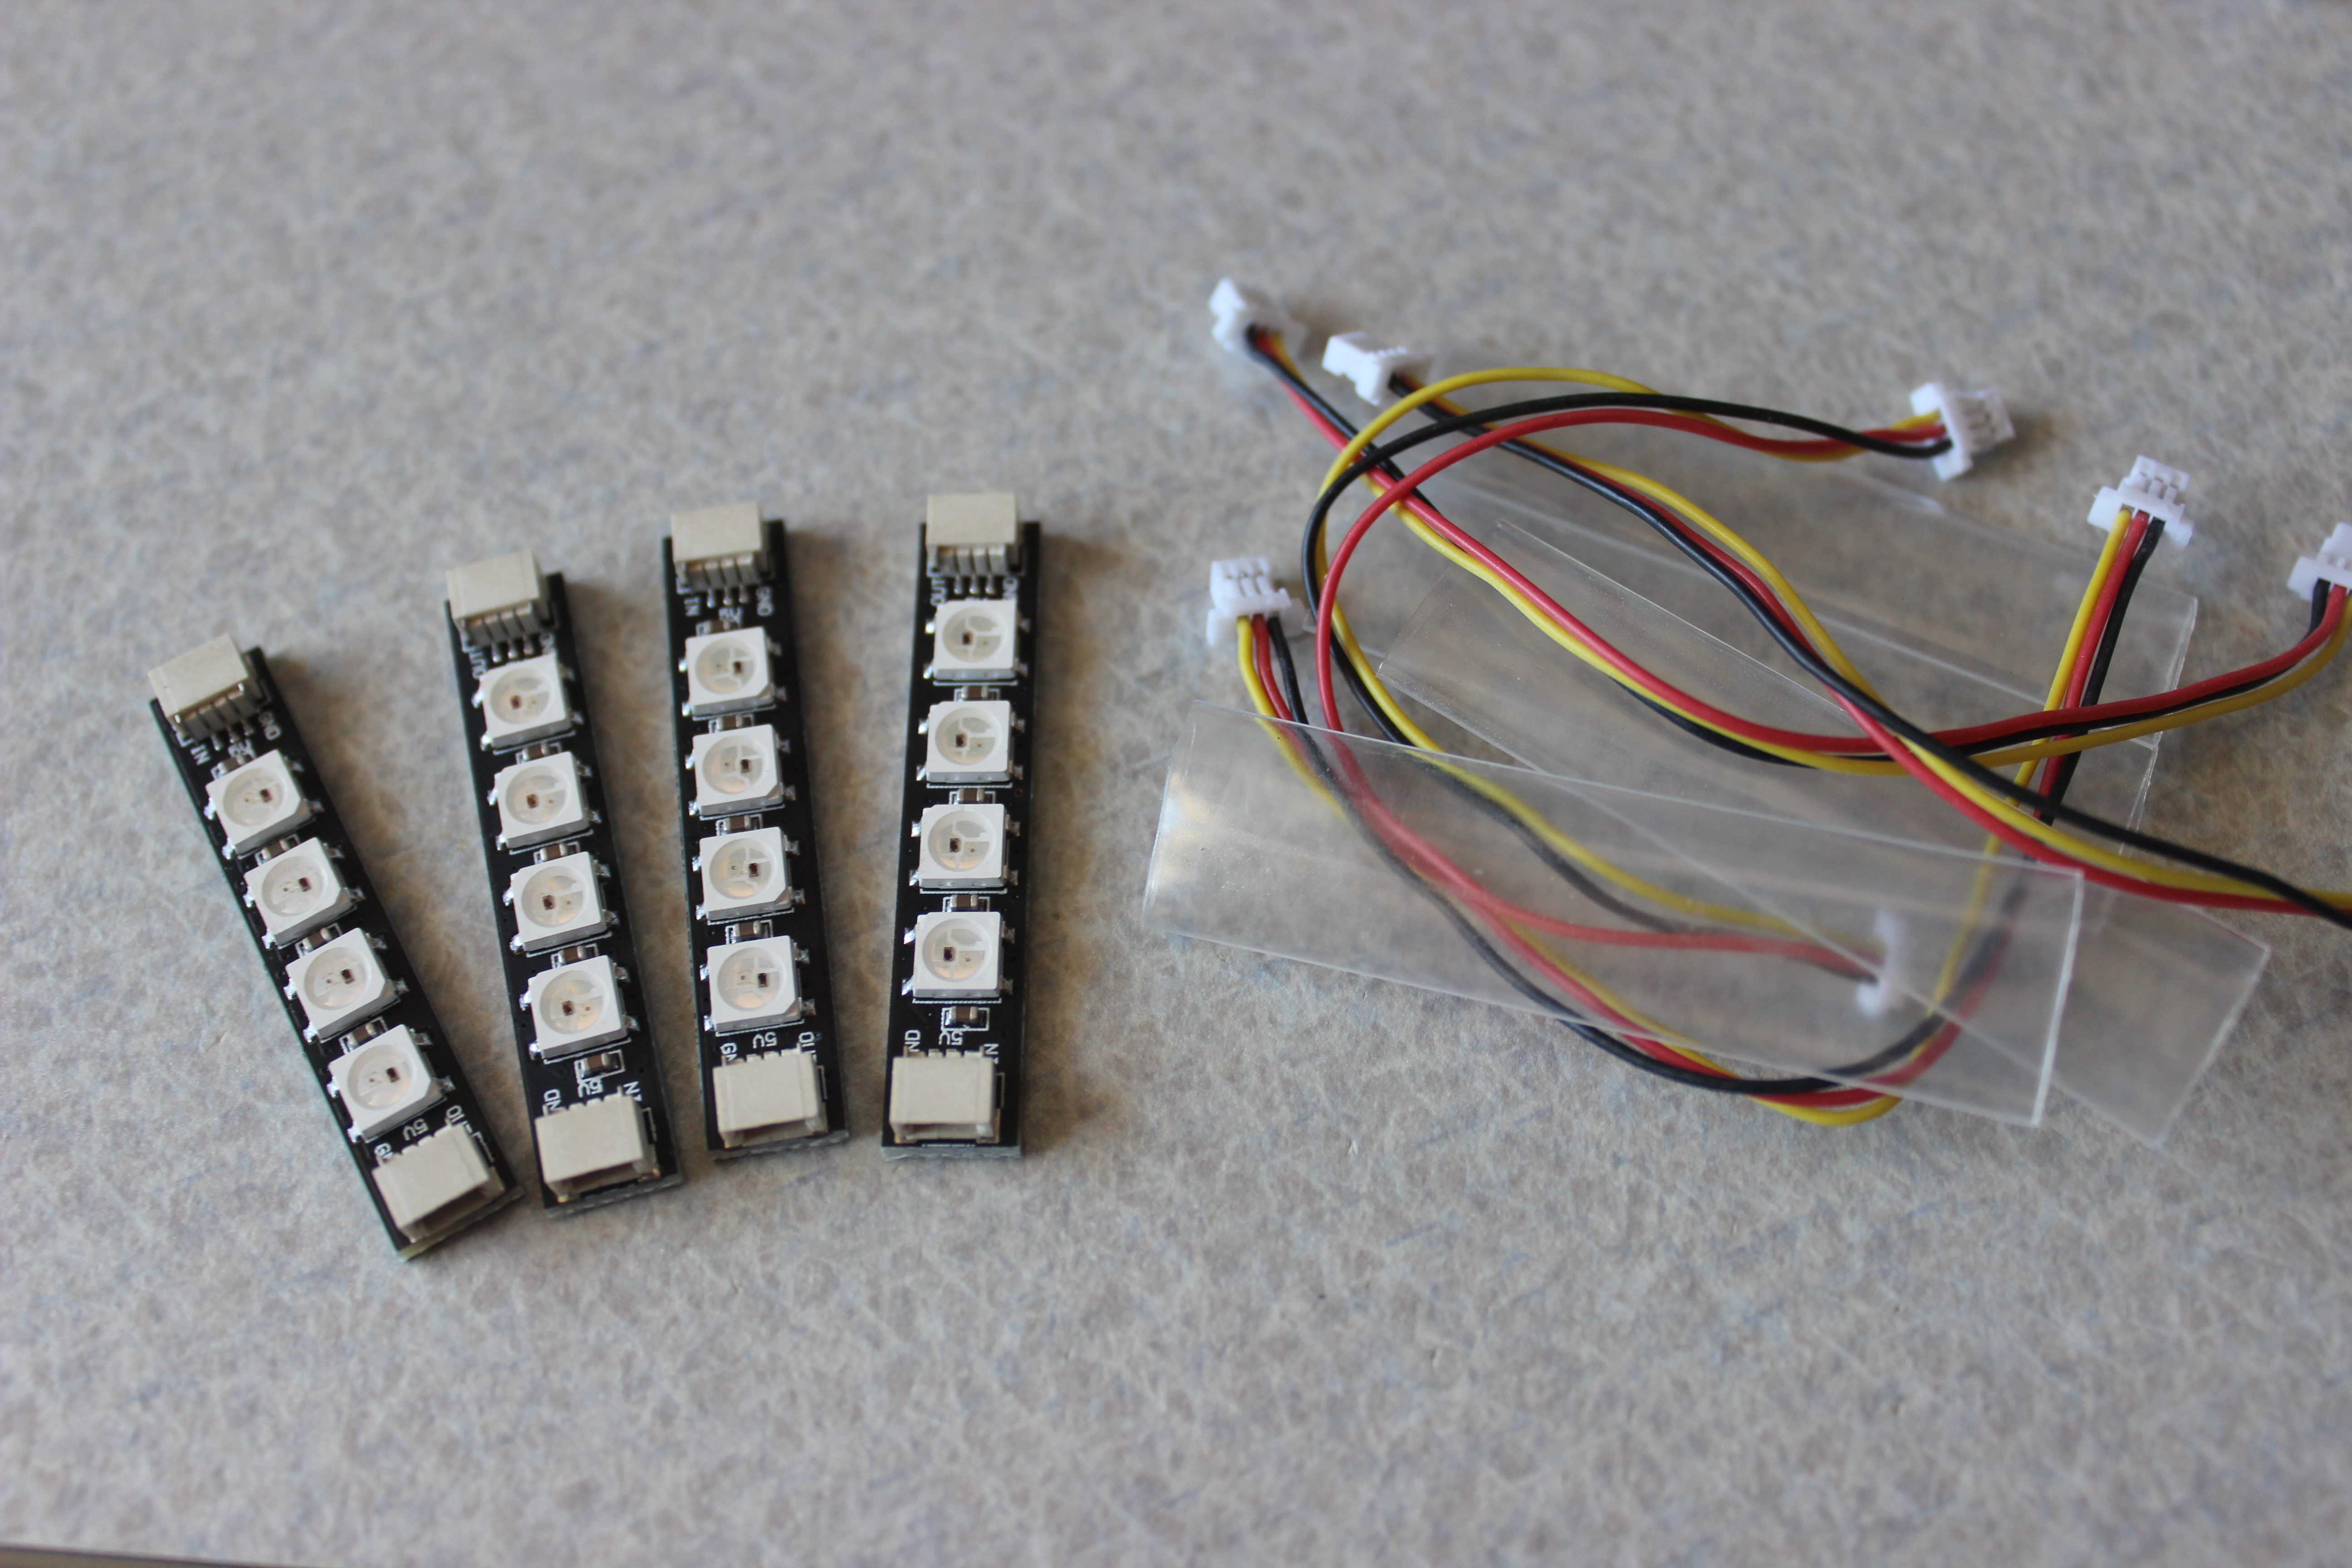
HGLRC LED Board W554B
   Input Voltage: 5V
   Quantity: 4 Pieces
   Size: 42mm x 7.8mm
   Cable Length: 100 mm
   Weight: 7.1g (Total of all 4 pieces)
What’s included:
   4x W554B LED board
   4x Heat Shrink
   4x SH1.0 3P 100mm cable
Size and Weight
Coming in at roughly 8 grams, the HGLRC Zeus F722 packs a punch for its size.
Its baby counterpart, the HGLRC Zeus F722 Mini comes in at roughly 5 grams and is mountable on a 20 mm stack. It has almost exactly the same specs as the Zeus F722.
For the GPS unit, the HGLRC M80 comes in at 9.4 grams, which is not light for those who are looking to build a lightweight quad, but does wonders when considering how easy it was to install it and use it directly on Betaflight.
The W554B LED boards come in at 7.1 grams for all 4 pieces when installed.
Closer Look
Mountable on a 30 mm stack, the HGLRC Zeus F722 flight controller has 5 UARTS! I couldn’t find a way to use all the UARTS. When I had taken the flight controller out and installed it, it showed no struggles whatsoever as Betaflight read roughly 4-5% cycle time. Turned the knobs to 11 with 8k/8k rates, DSHOT600, and RPM Filtering on, my cycle time went up to roughly 7%. Likewise, its baby counterpart, the HGLRC F722 Mini is the same. What beasts.
There are lighter GPS units that may suit your need, but if weight is not an issue for you, this GPS unit will do just fine. When I had first powered this GPS unit up, it took about 3 Tiktok short clips length to lock in, which is quite some time. Every consecutive replug after that during that session of flying, I had noticed the GPS had locked in by the time I got back to my chair from the pit. Not bad, HGLRC. Displaying the GPS Latitude and Longitude readings made me feel much more comfortable flying farther, in the case that I have an issue with my quad, I would know its precise location.
The W554B LED boards were super bright! So, I only installed two. I gotta respect my fellow pilots and not flash them out with these lights. Though, I gotta say, it might be just enough to take the lead during a race. This will be our secret.
Installation and Testing
Diagrams:
I love my Emax Buzz. It has been some time, and I think it is ready for an upgrade. RPM Filtering, here I come!
I kept everything the same, basically everything that came with the Emax Buzz 4S is on this quad. I had removed the Magnum F4 flight controller, installed the HGLRC Zeus F722 FC, HGLRC M80 GPS, and two of the W554B LED boards.
Process could have been simpler if I had used HGLRC’s 4-in-1 ESC board. I had to remap the ESC wire to match the HGLRC FC and the Emax ESC. A bit of soldering to get the camera cable and the Frsky XM+ receiver on those huge pads. Yeah, those pads are large enough, it was no trouble at all. The GPS and LEDs were plug and play, and we’re ready to go!
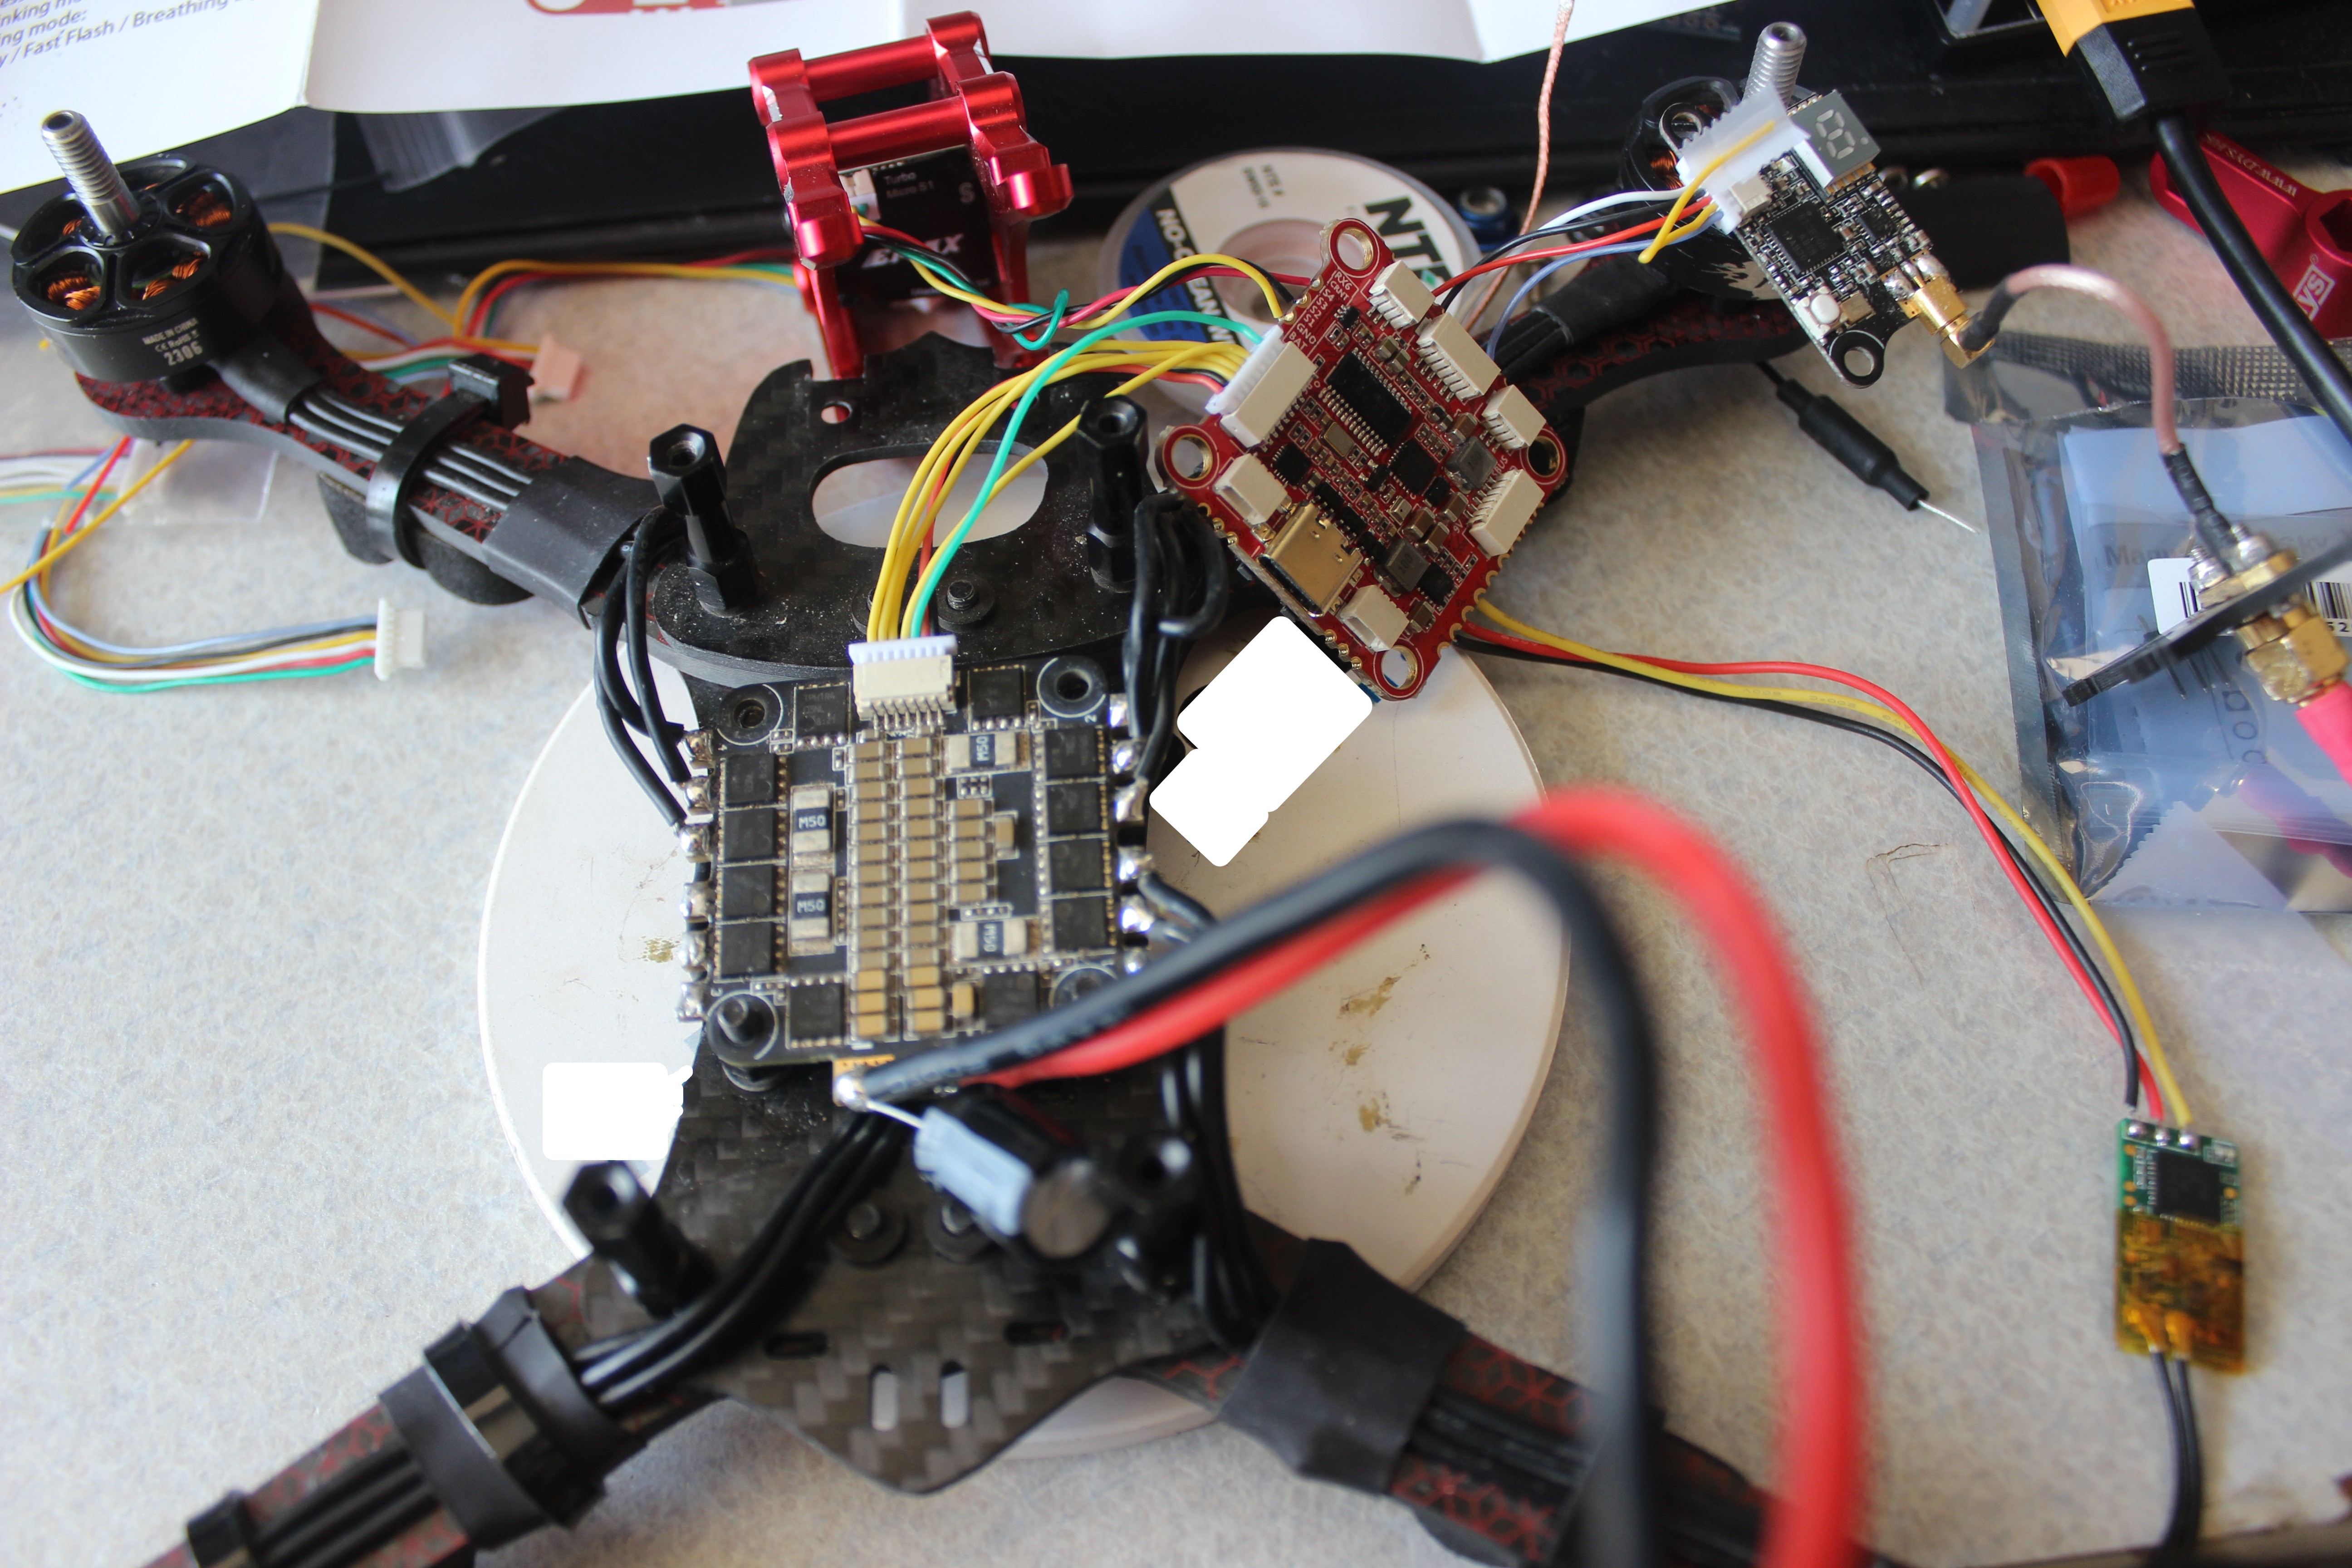
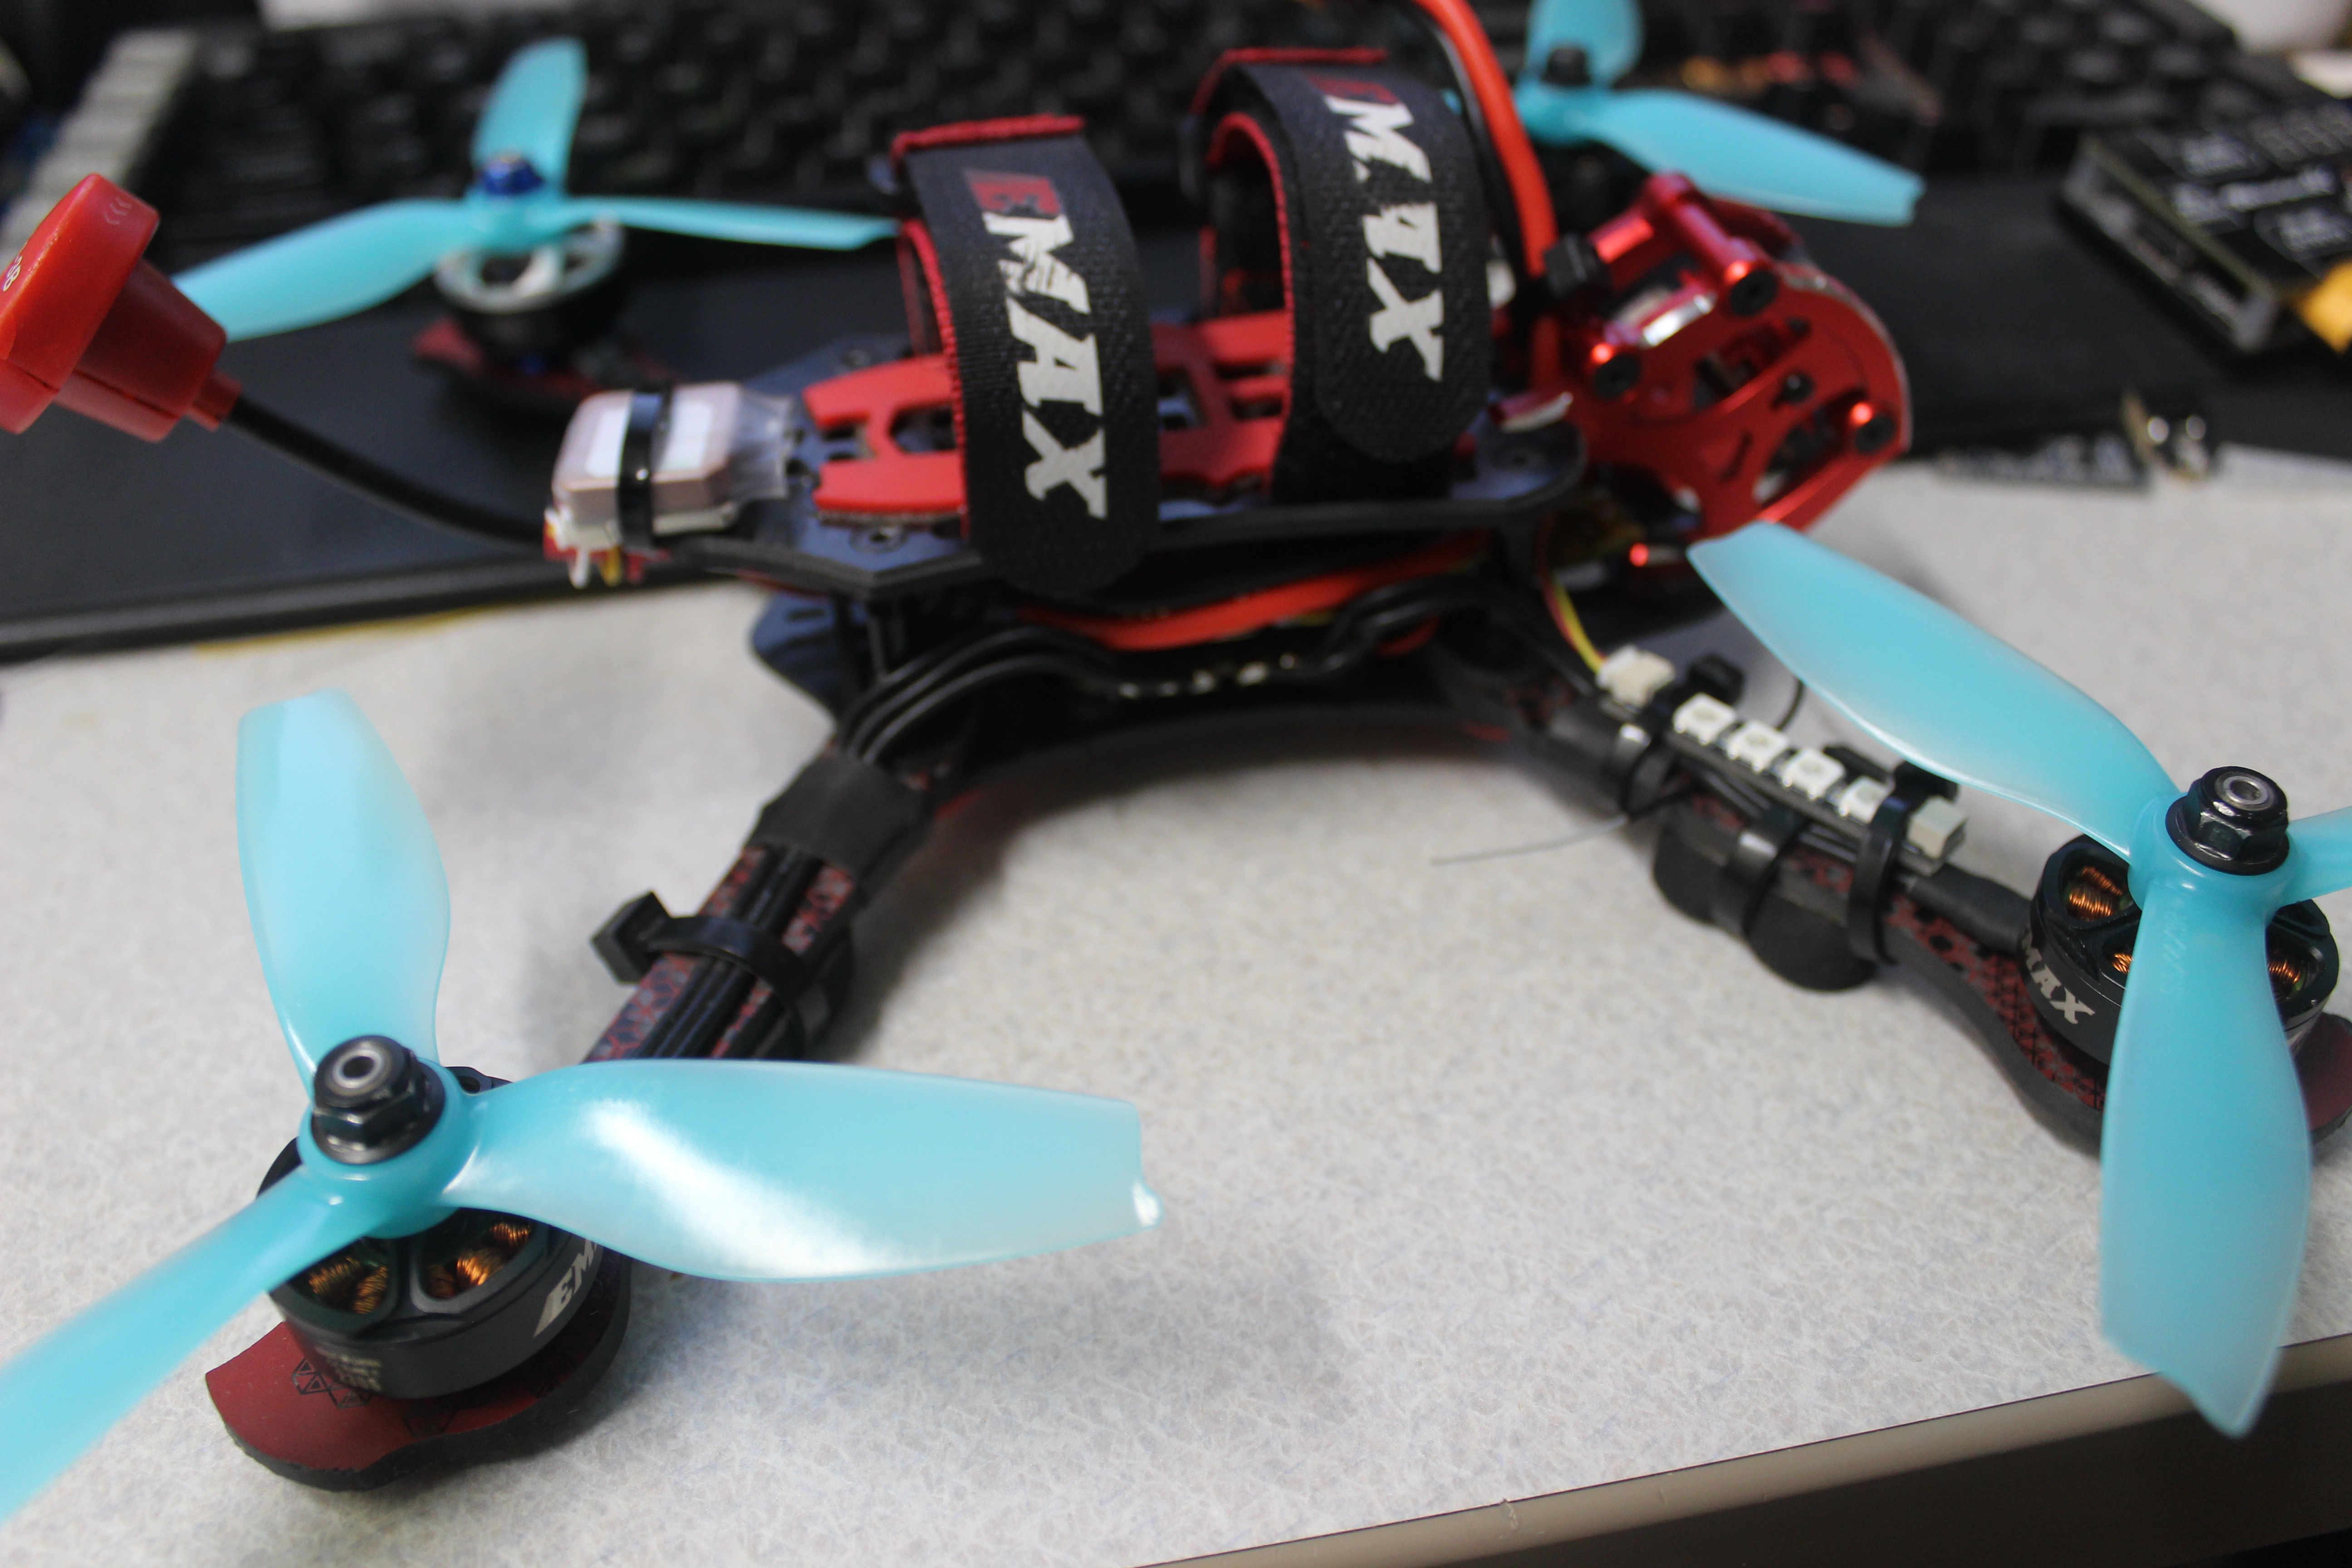
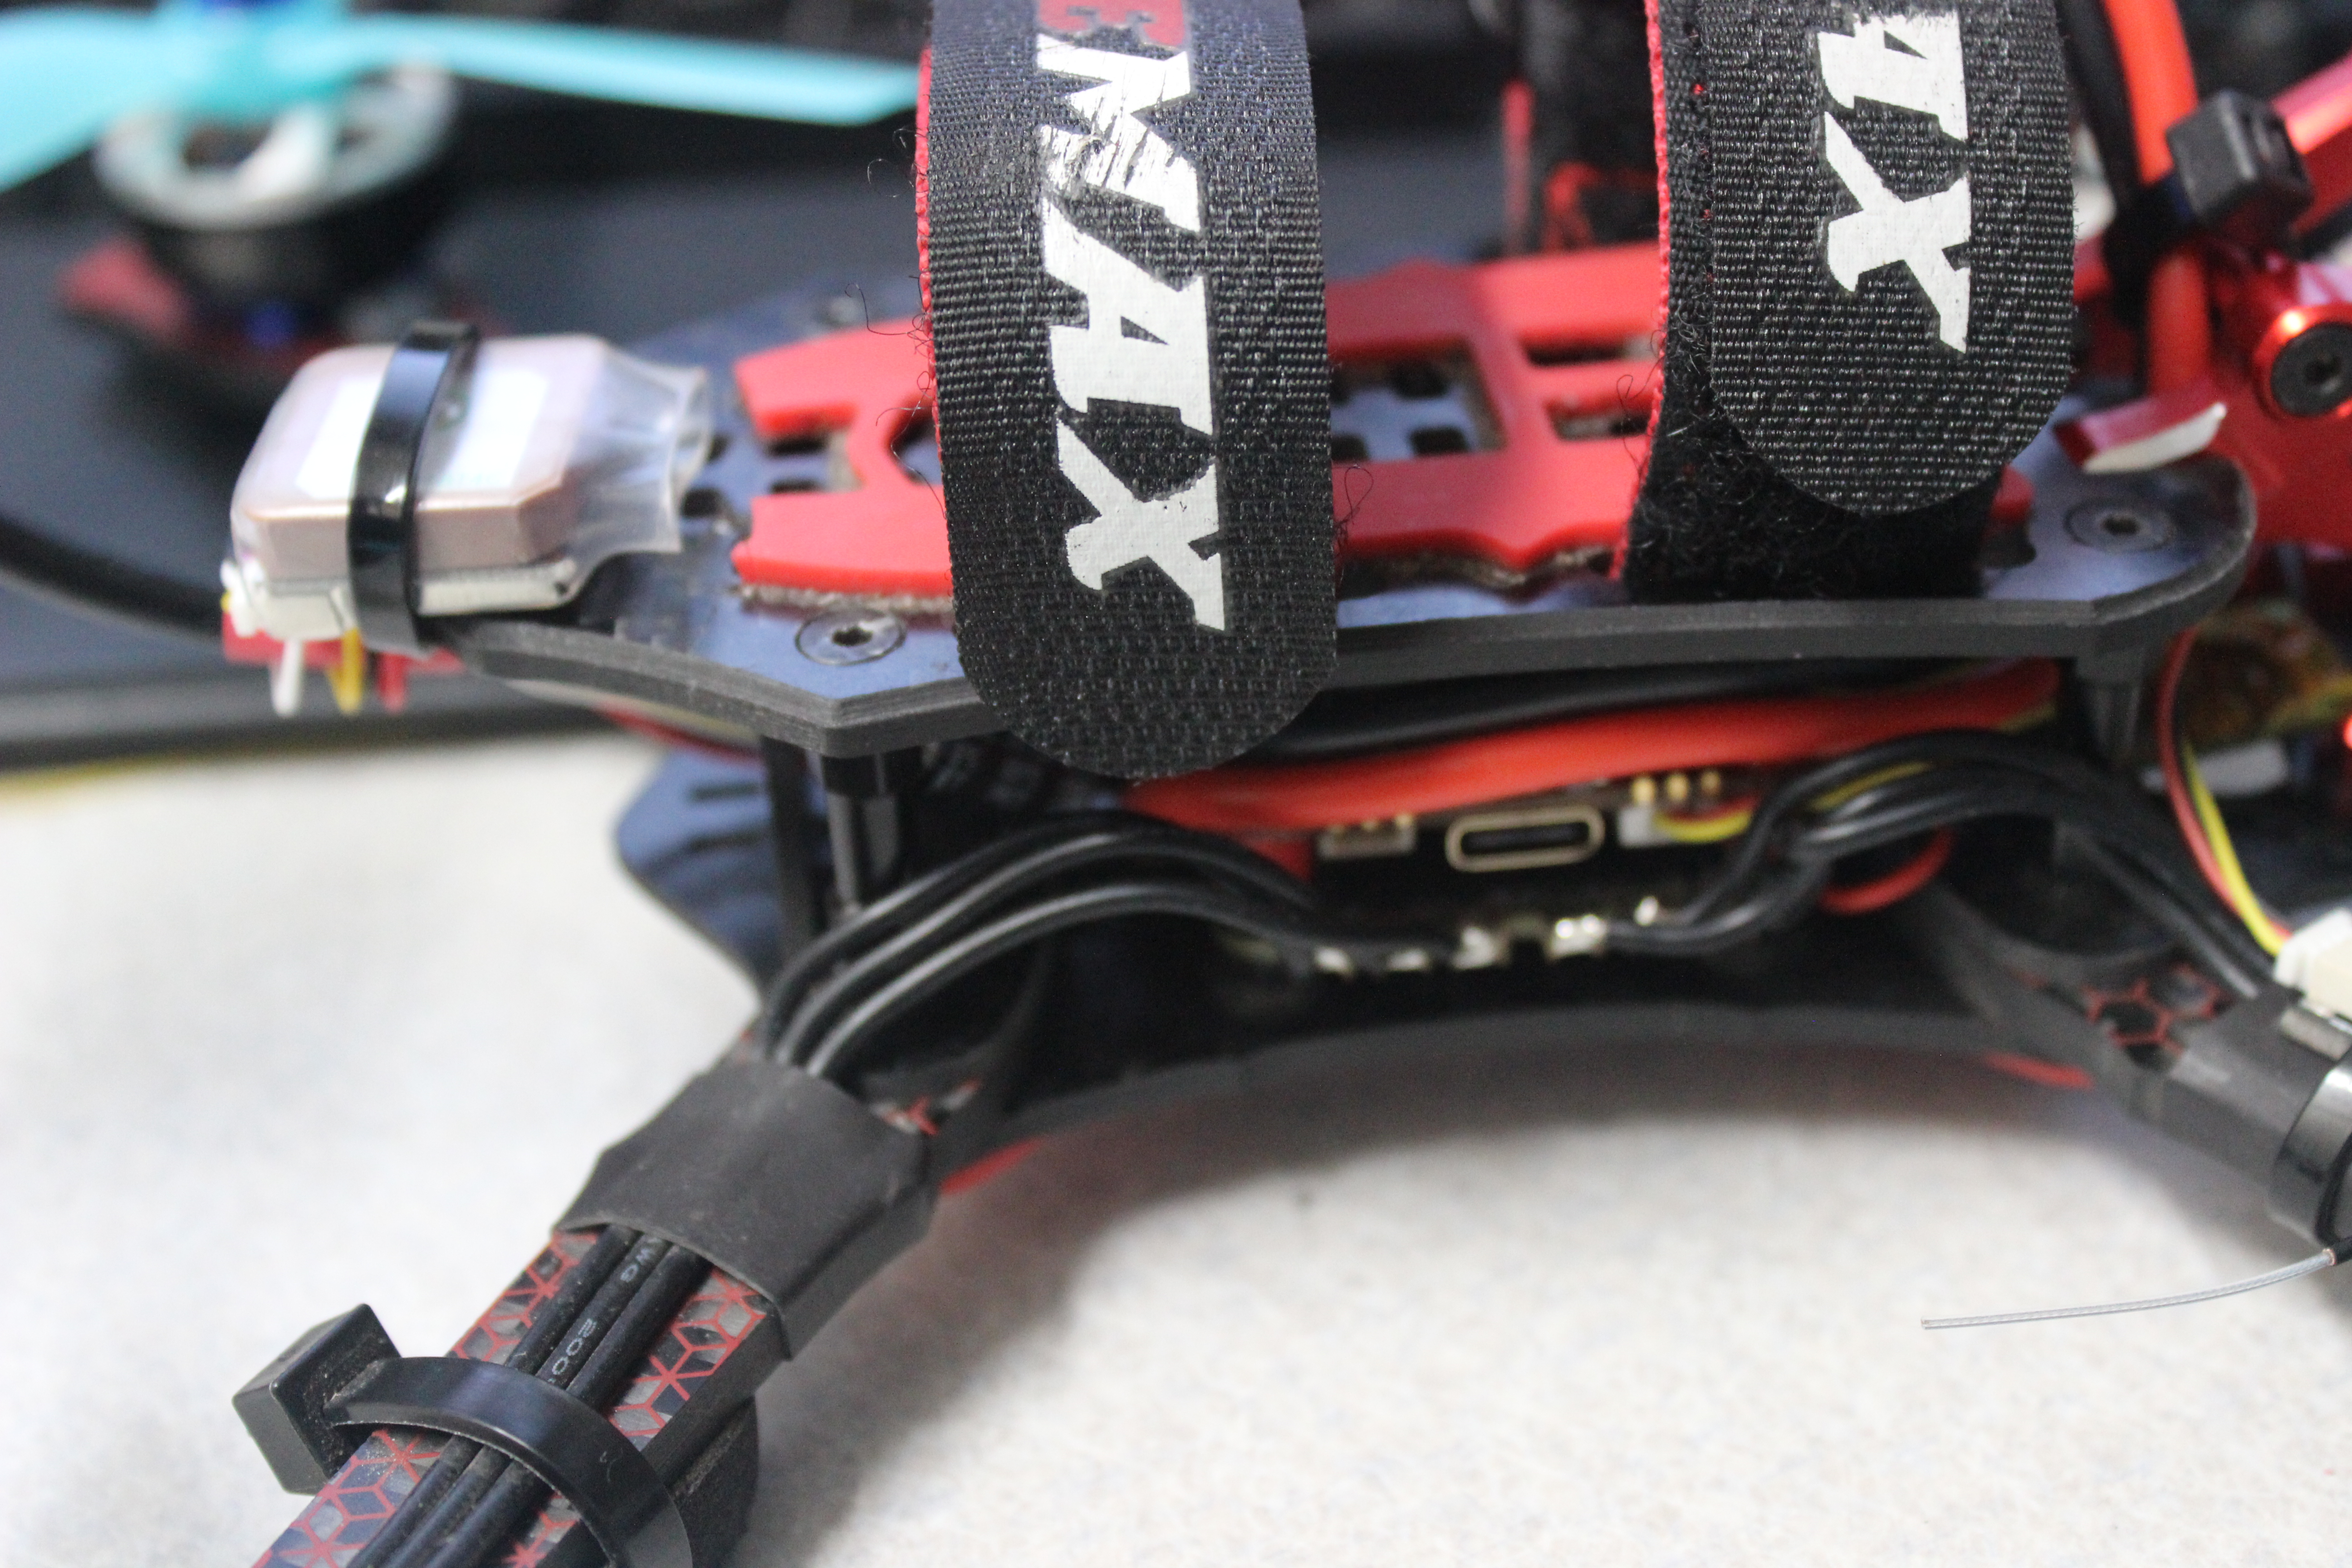
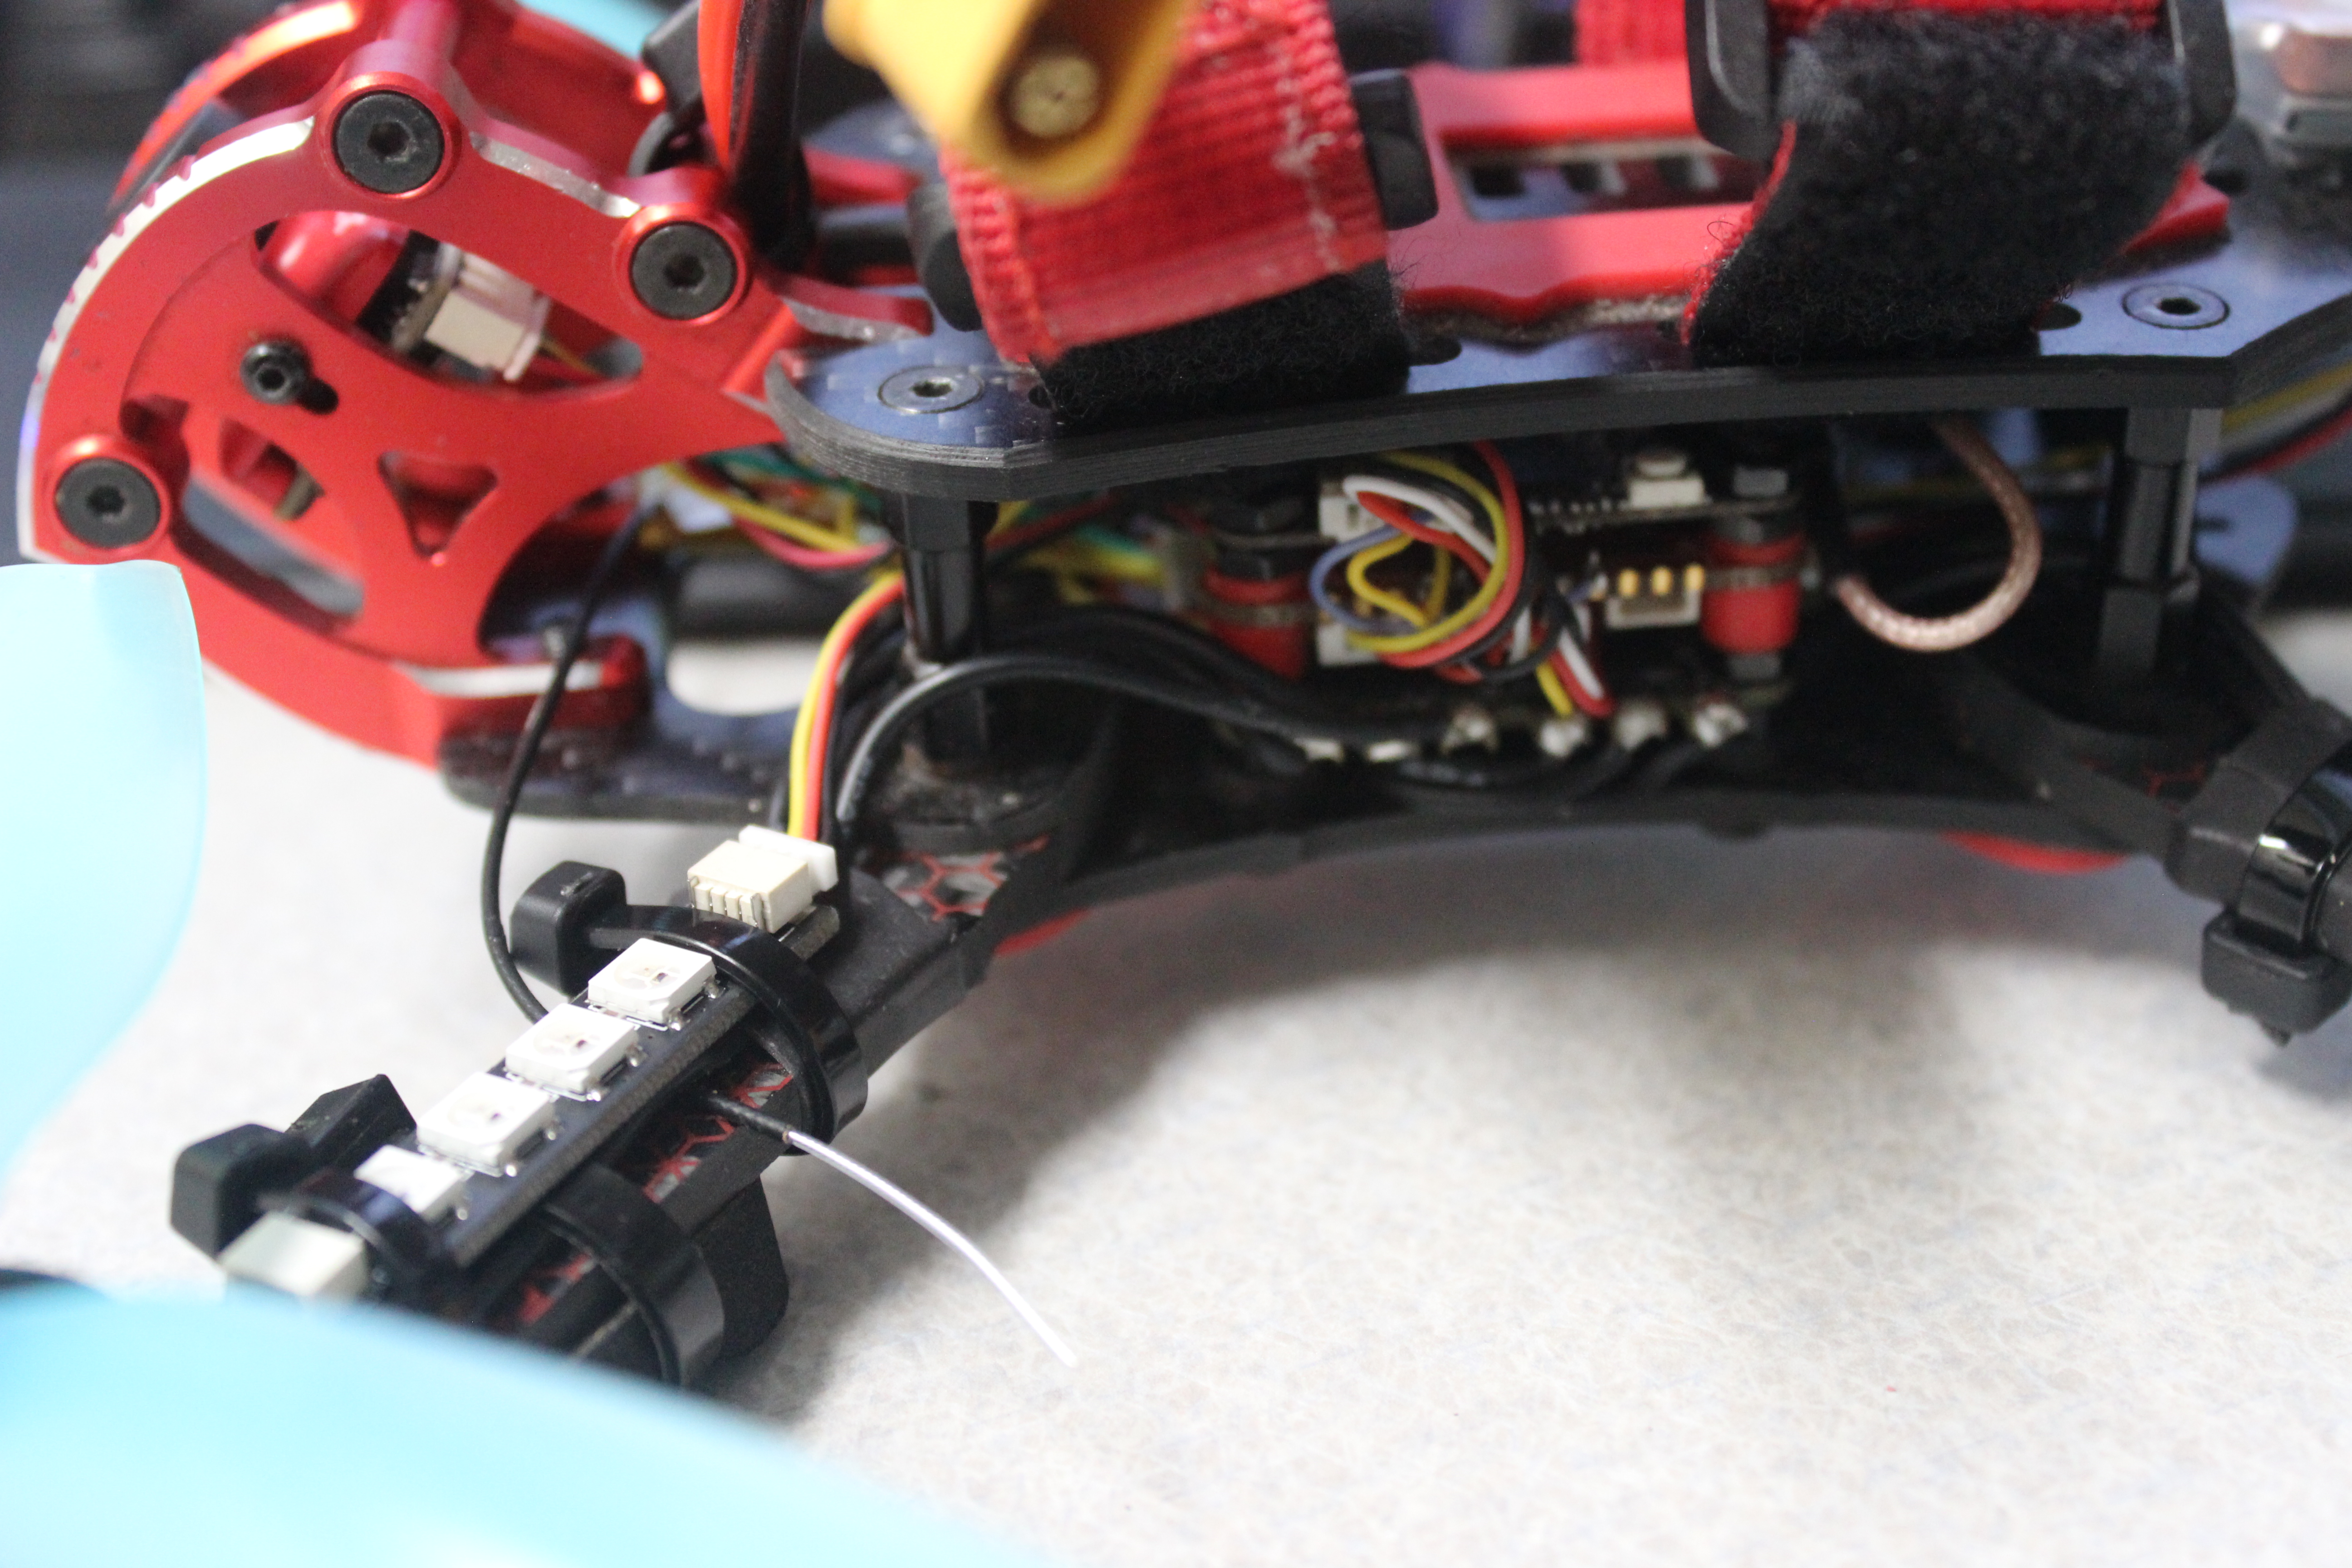
The firmware and configuration on the HGLRC Zeus F722 out of the box was very good in my case. I started off setting the proper ports, bound the quad to my transmitter, checked the motors, their orientation, and set a beeper. No changes to the PIDs or filtering at this point. Took it out to fly and out of the box, it flew great!
I then took it to the next step, and turned on RPM Filtering, some changes to the filtering, but kept the PIDs more or less the same. Flew it and I was blown. It just works. Very simple and flies great out of the box. There are some prop wash, but I was impressed at how easy this process was. There were a few tid bits here and there (documented below), but the overall experience was delightful. It may have been much easier if I didnt use a different branded ESC, so I wouldn’t need to spend hours researching on the pinouts on both the FC and ESC to double (err: triple) check if I had it right.
Betaflight Config
Can be found here
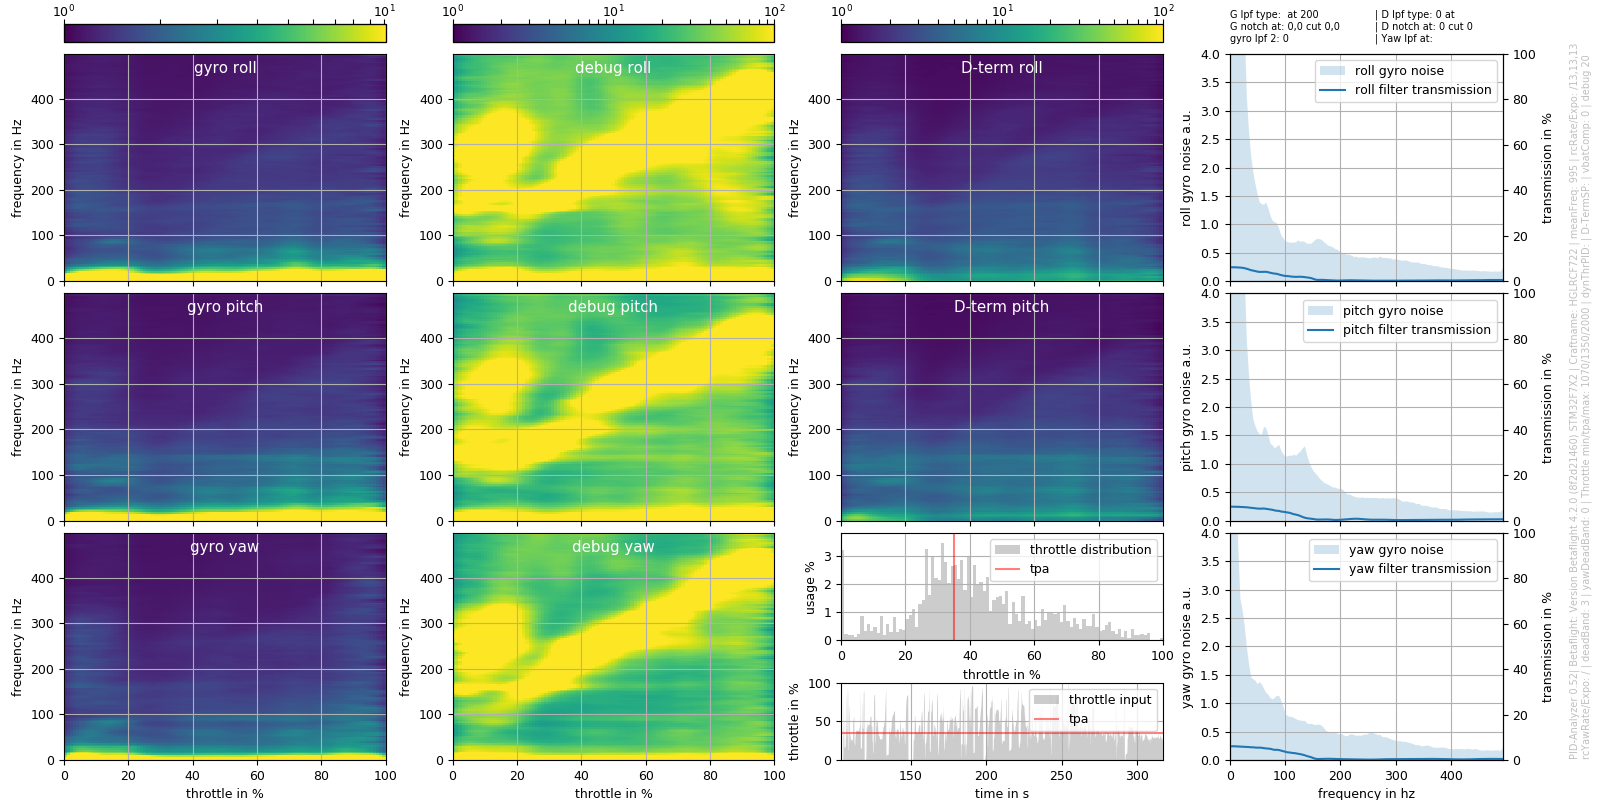
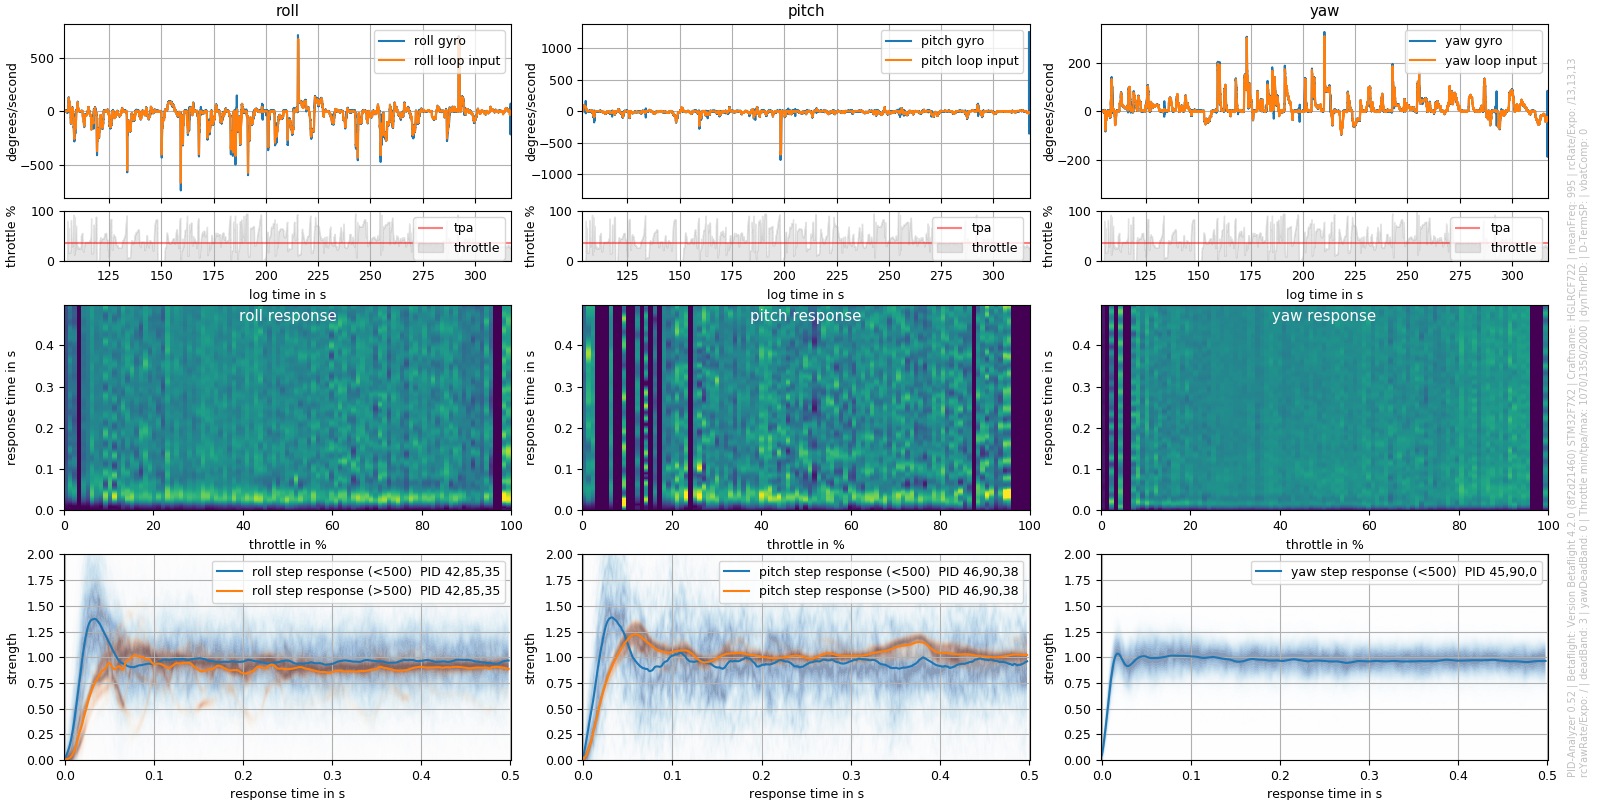
Out-of-box Noise and Step Response
DVR Footage
Conclusion
- Simple. Easy. Almost fully plug and play.
- Powerful. Functional. Next gen ready. Can attach 5 UARTS.
- Affordable. Reliable. Boards use quality components and thick enough that flex is likely not an issue.
Recommendations
- If the goal is simplicity and easy to install for DJI, I reccomend setting the Betaflight configuration as such. It would make the end user experience much better.
- Cable lengths can be shortened quite a bit. Typical single stack setups, the FC is often right next to the ESC. Similarly for the LED cables, the length is a bit too long for most setups.
- M80 GPS diagram and Zeus F722 diagram did not match up. There was a point where I was not sure if I should use the RX TX pins or the SCL SDA pins. Clarifying guidance on this would be helpful as the provided wire was not mapped properly and required modifications.
- It may have been my unit, though I feel that I should post it here. While flying, my satellites count was often dropping to 4 or 5 which is far less than ideal. Weather conditions were good, sky was clear on all tests.
- LED strips don’t work with Betaflight, or at least I wasn’t able to get it to work with Betaflight. Pressing the physical LED button on the FC worked.
